Home Assistant on your TV
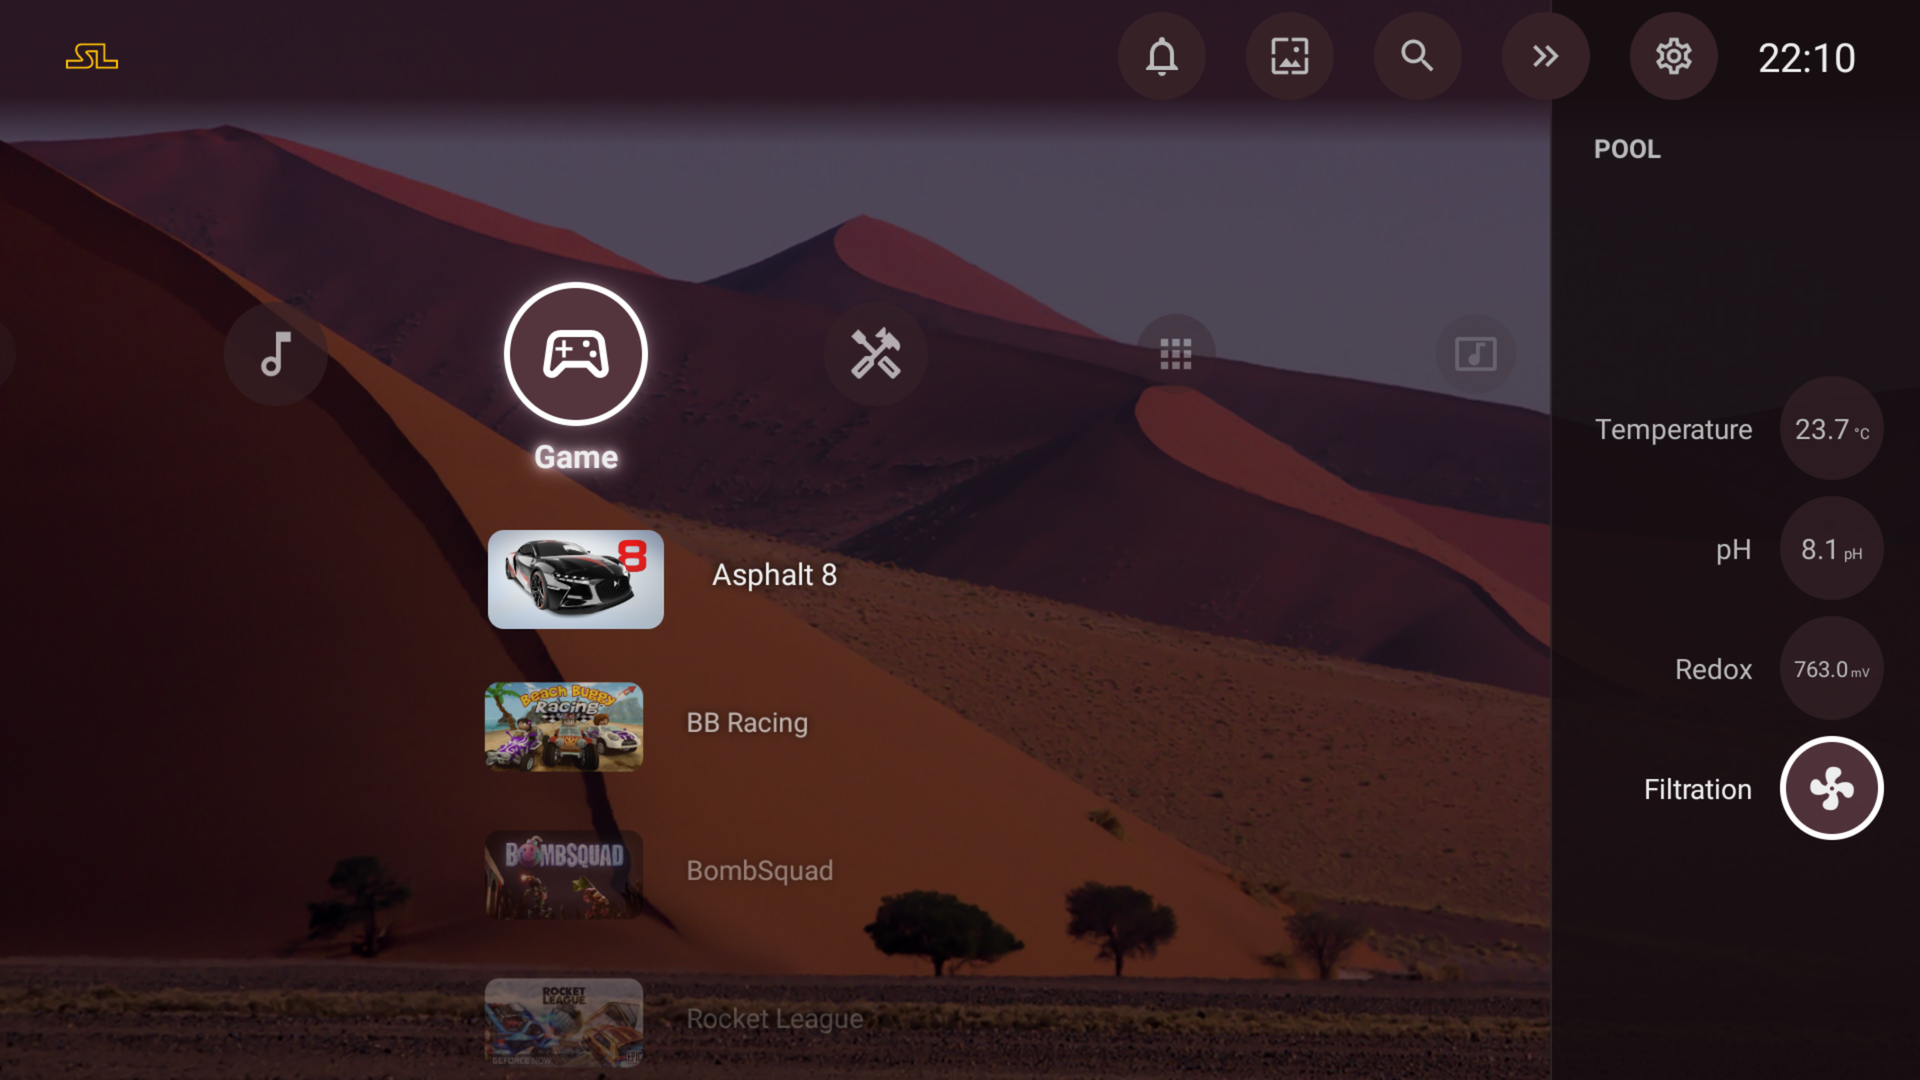
StartLight connects to your own Home Assistant and shows what matters at a glance: a Home row on the home screen, bubbles in the right-hand panel, values on the screensaver. Values update live, and a light or a switch toggles with OK.
The connection and the Home row are free, with up to three entities. Pro adds up to 60 entities, dashboards, bubbles, screensaver values and per-entity display settings. Free and Pro
Connect your instance
- 01
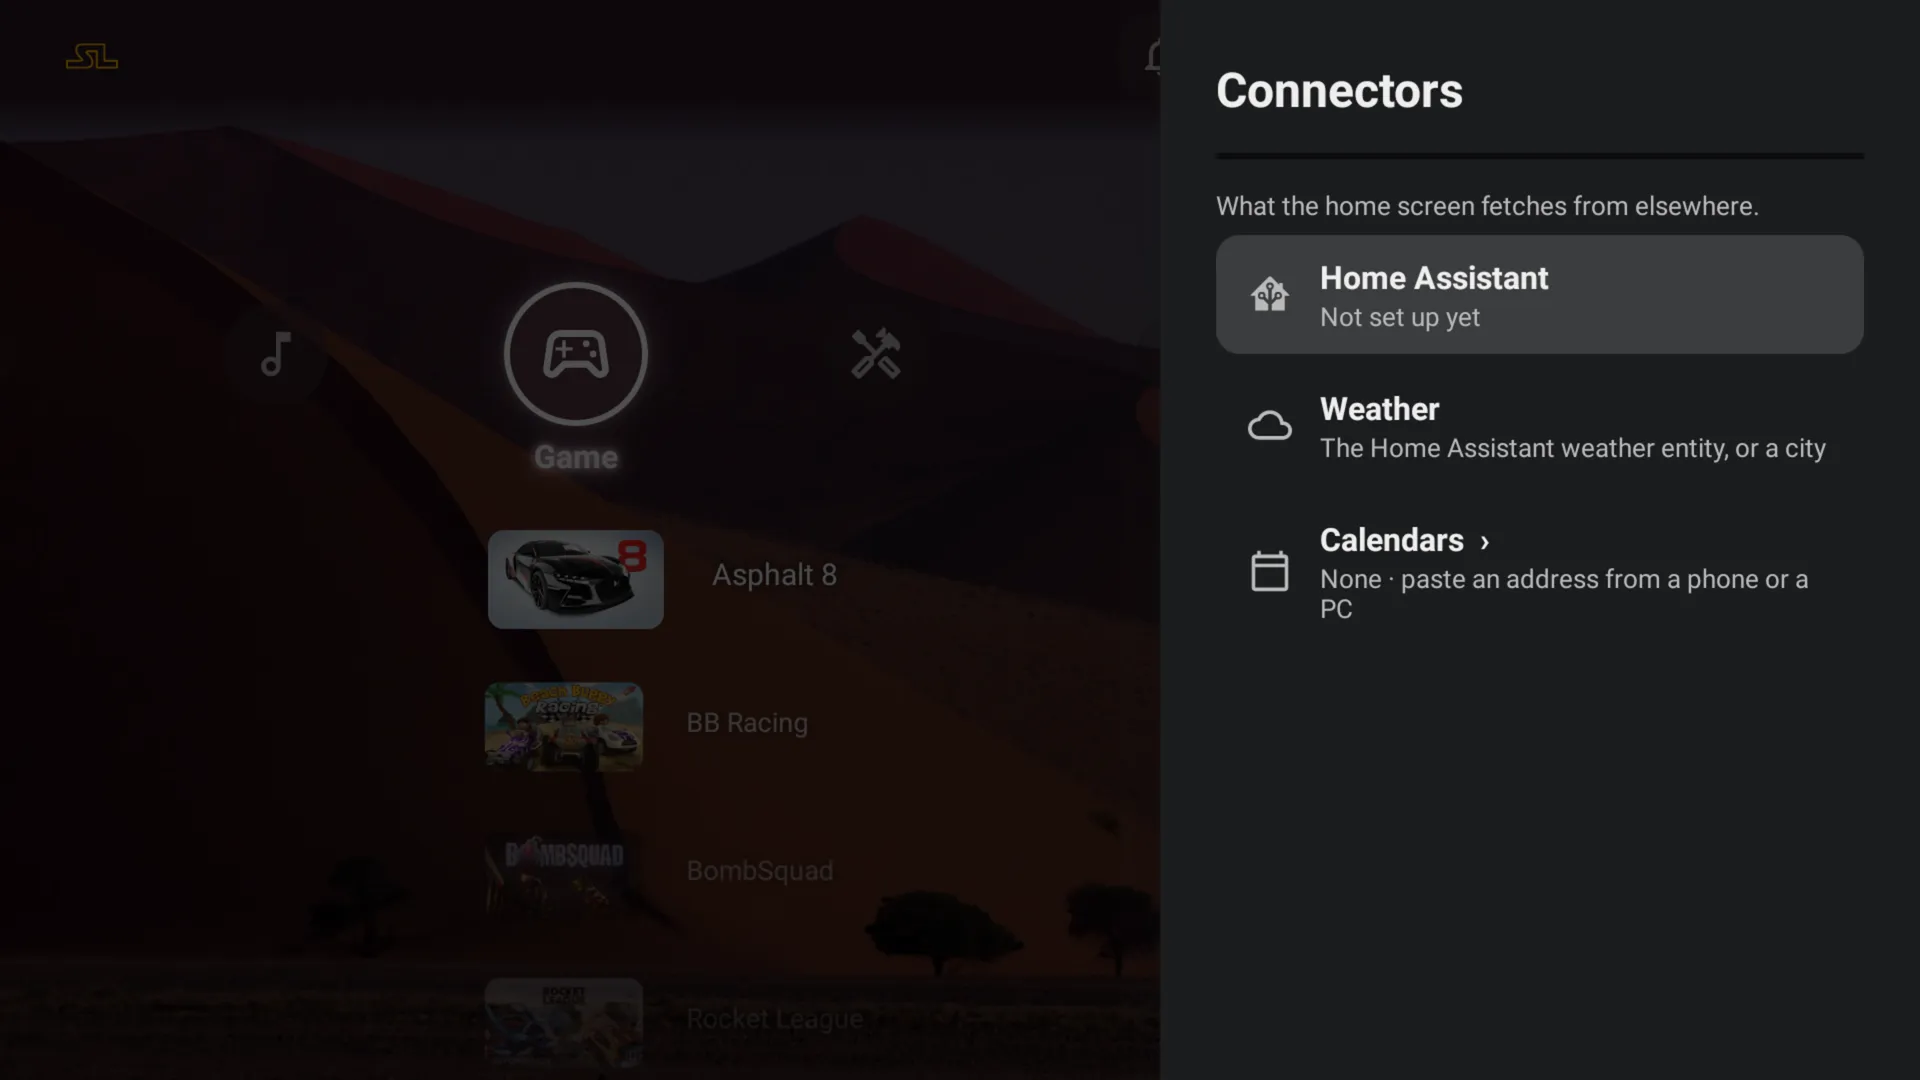
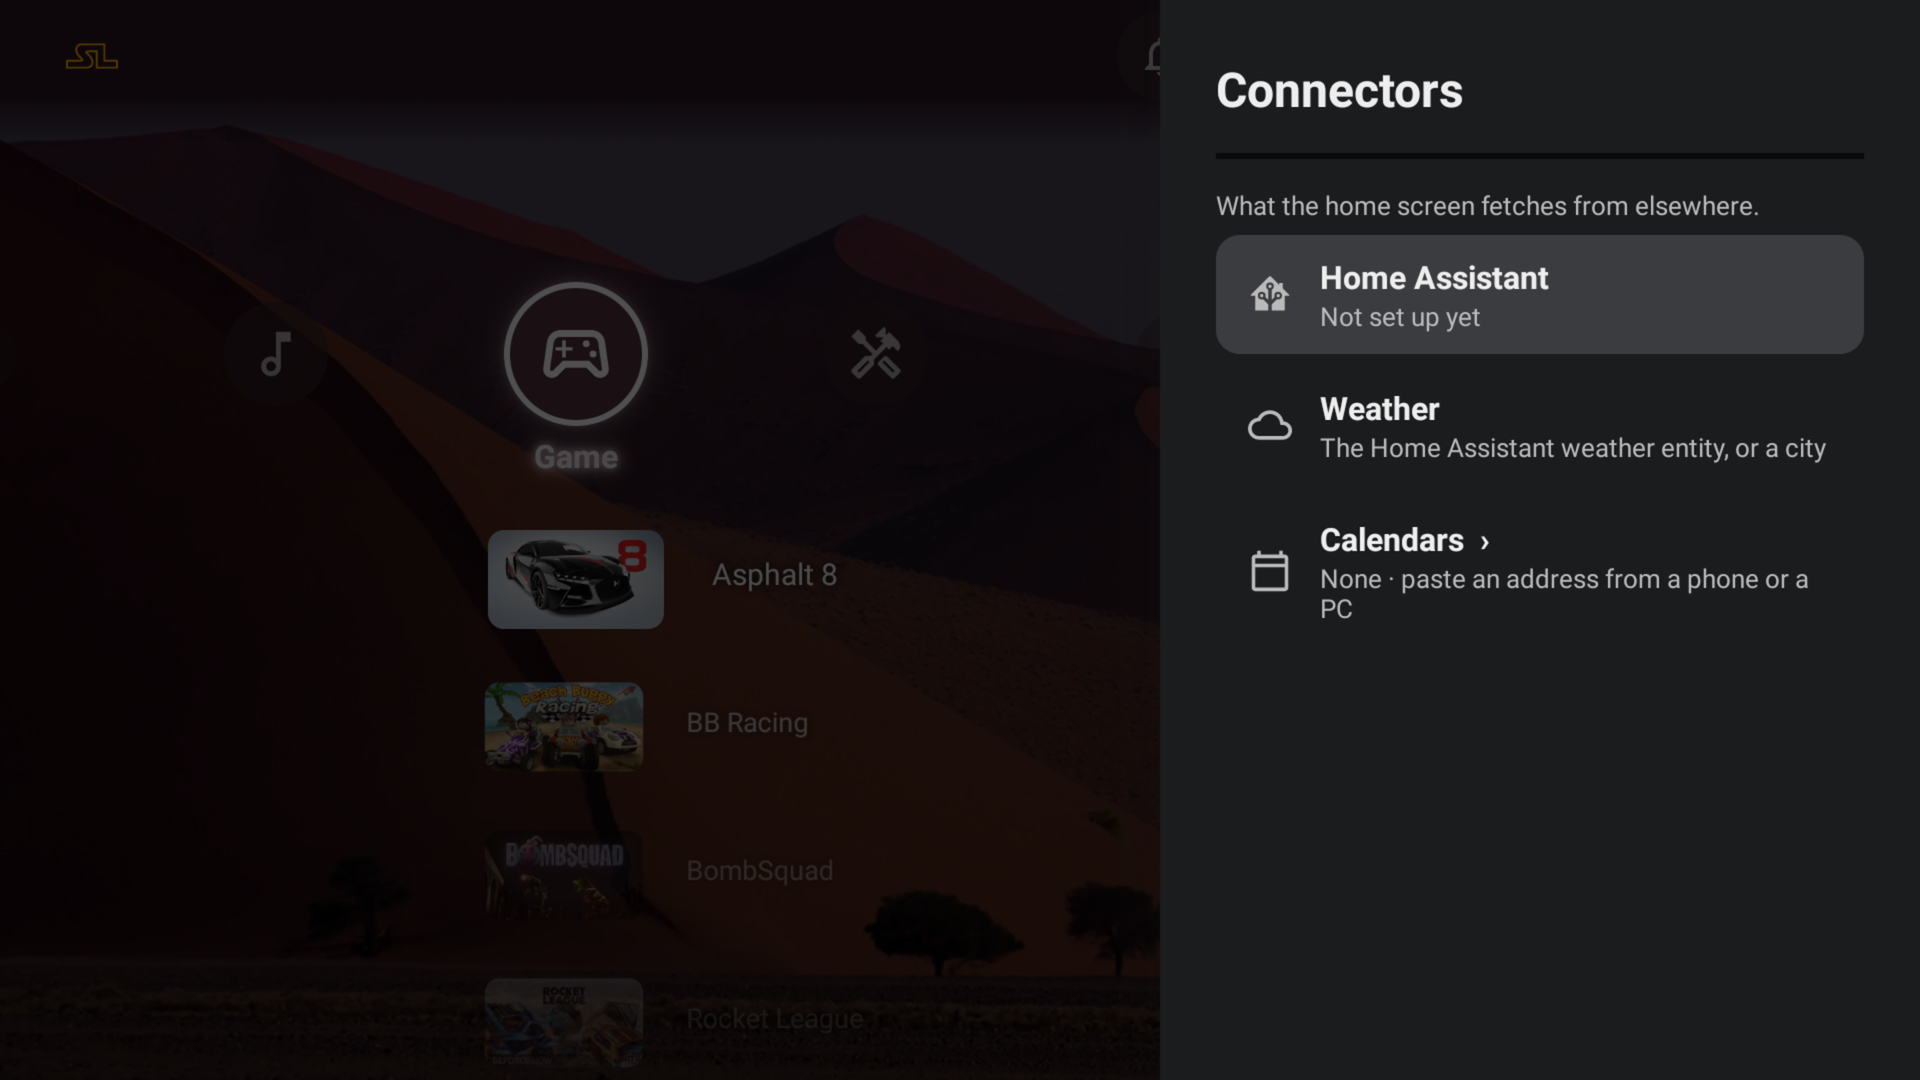
Open the connectors
Settings › Connectors › Home Assistant.
- 02
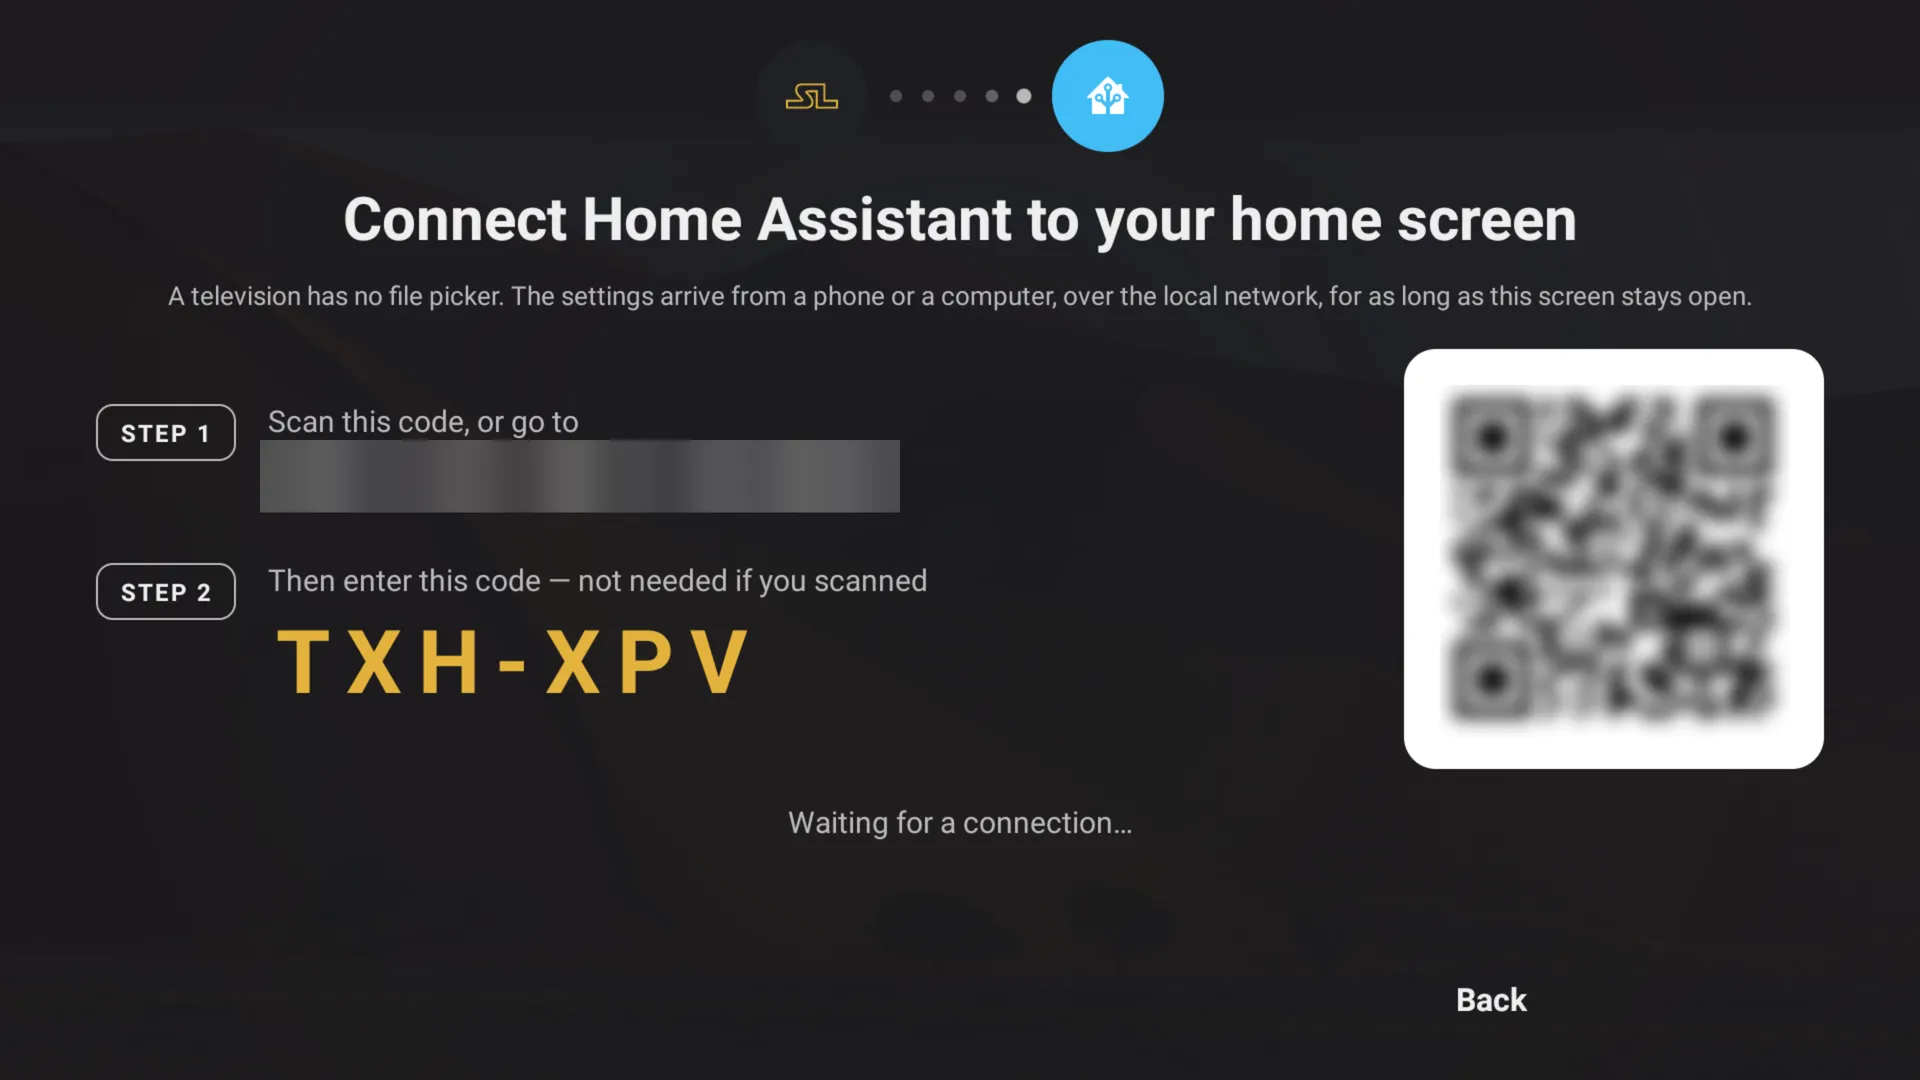
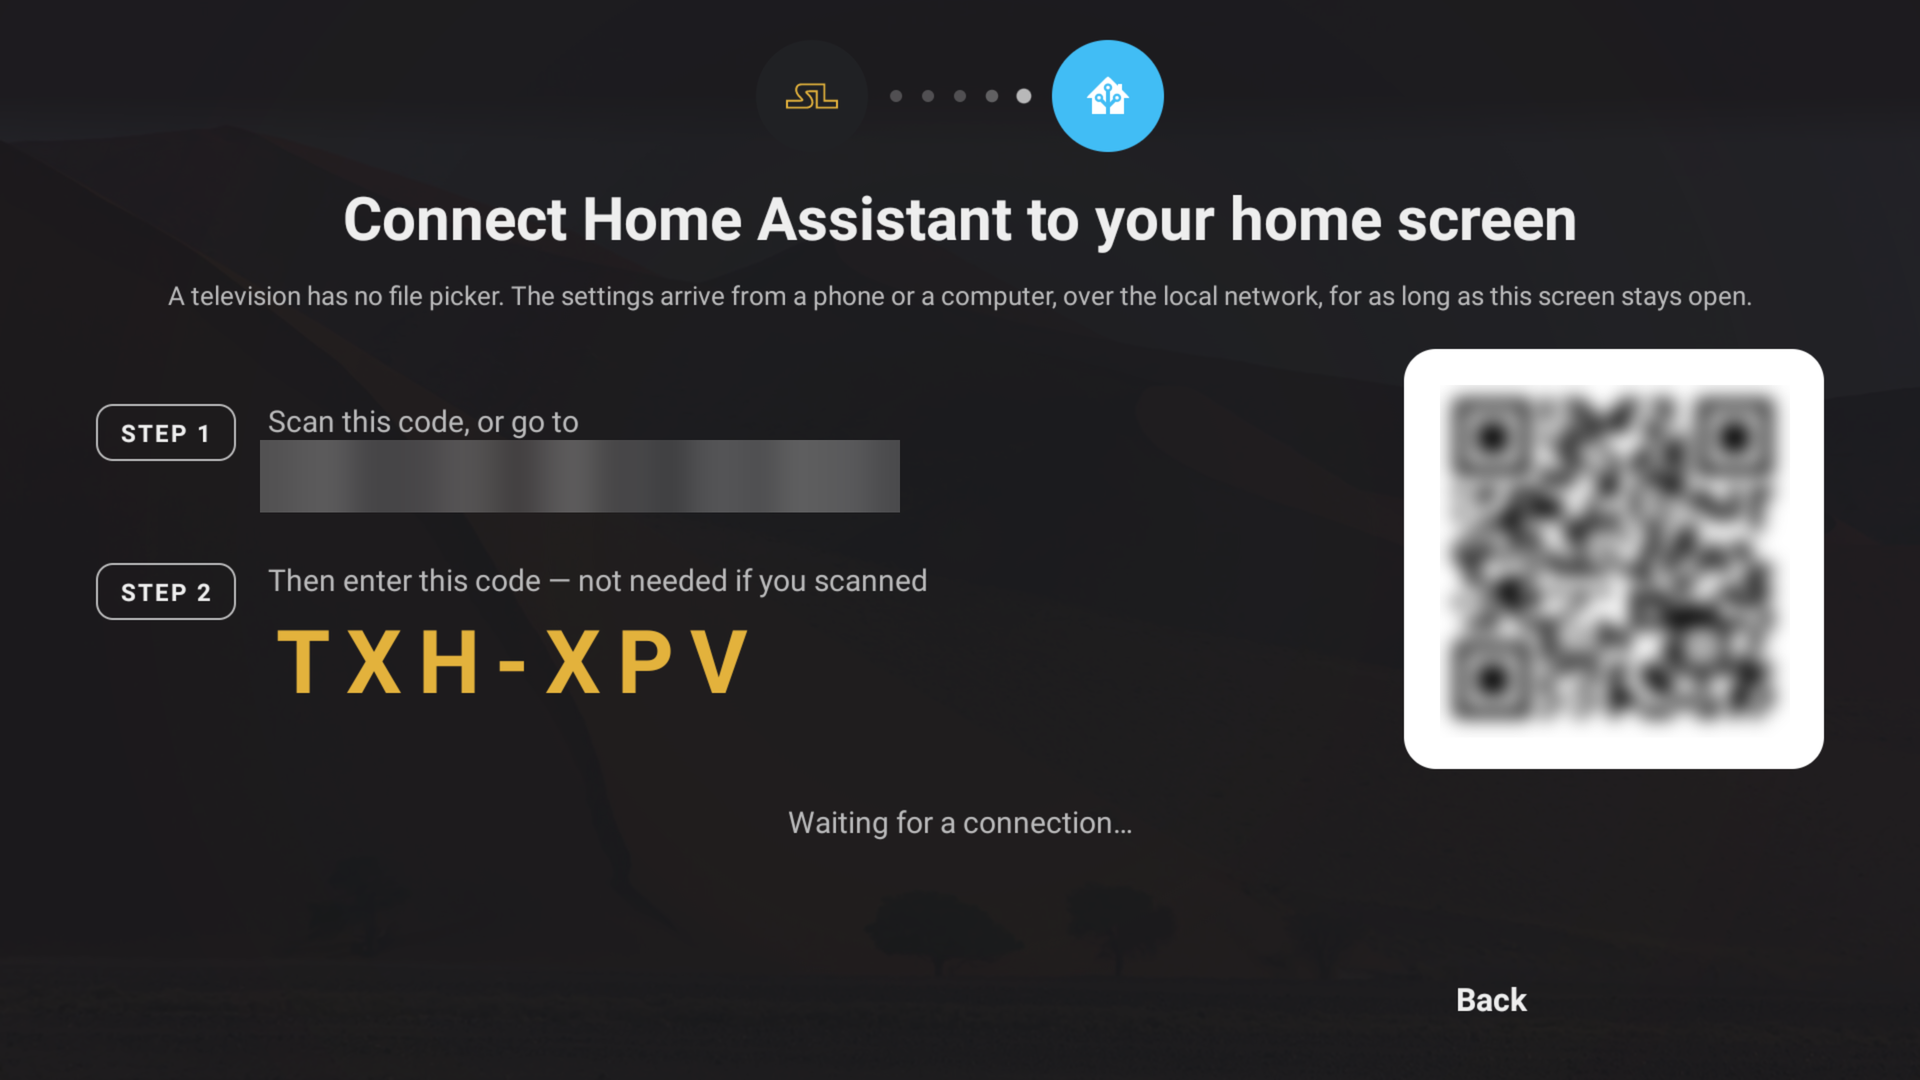
Scan the code
The TV shows a QR code and a short pairing code. Scan it with your phone, or type the address in a browser on your computer. Everything stays on your local network.
- 03
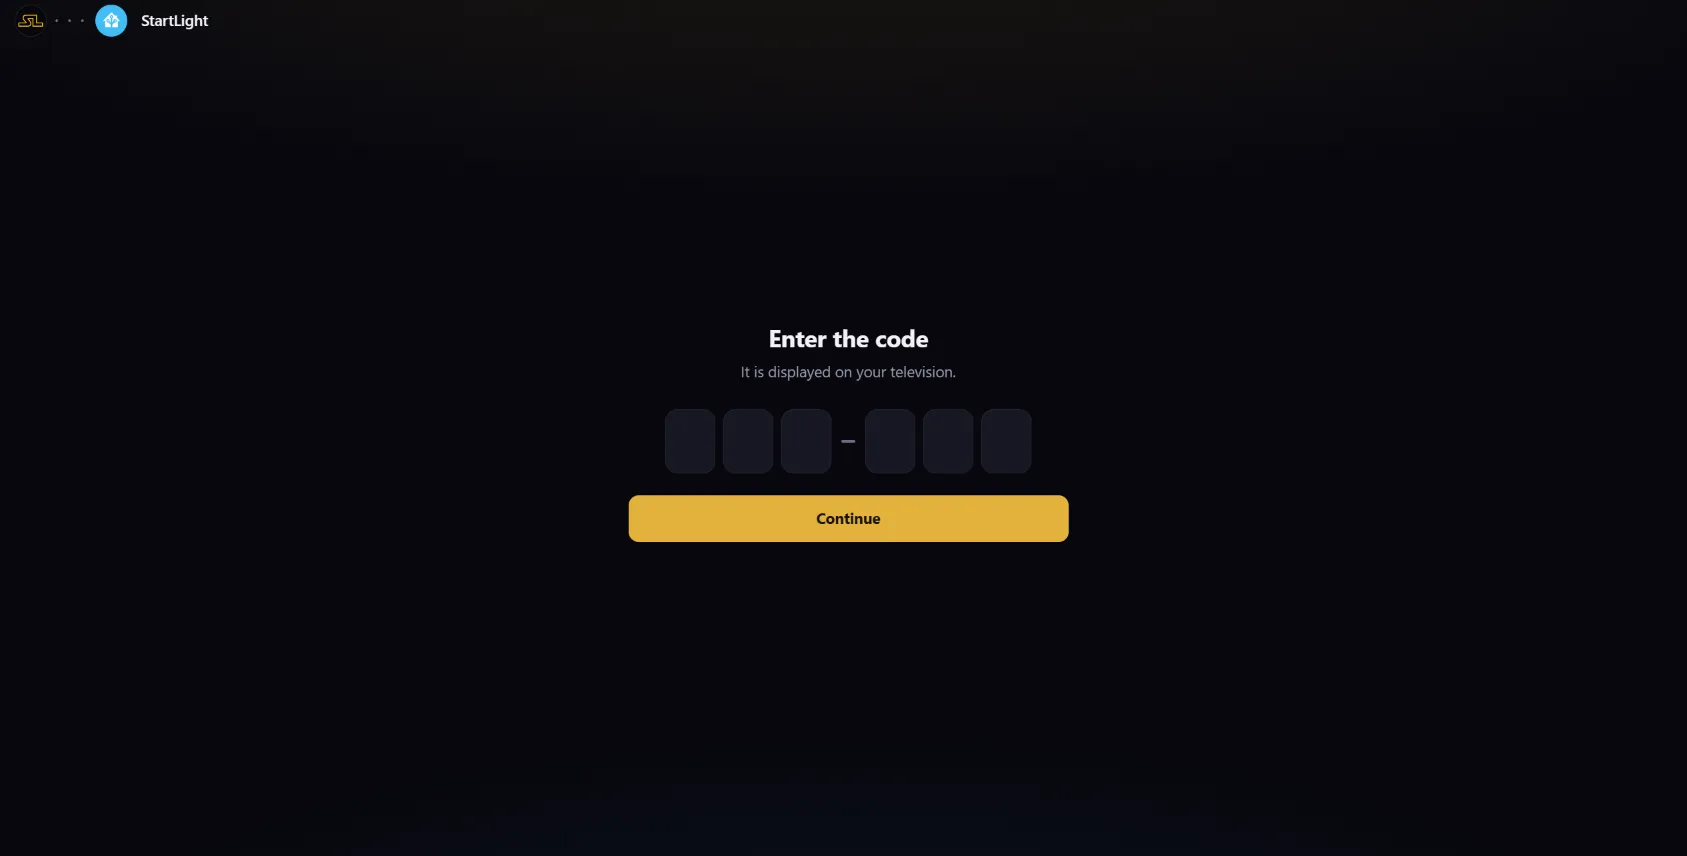
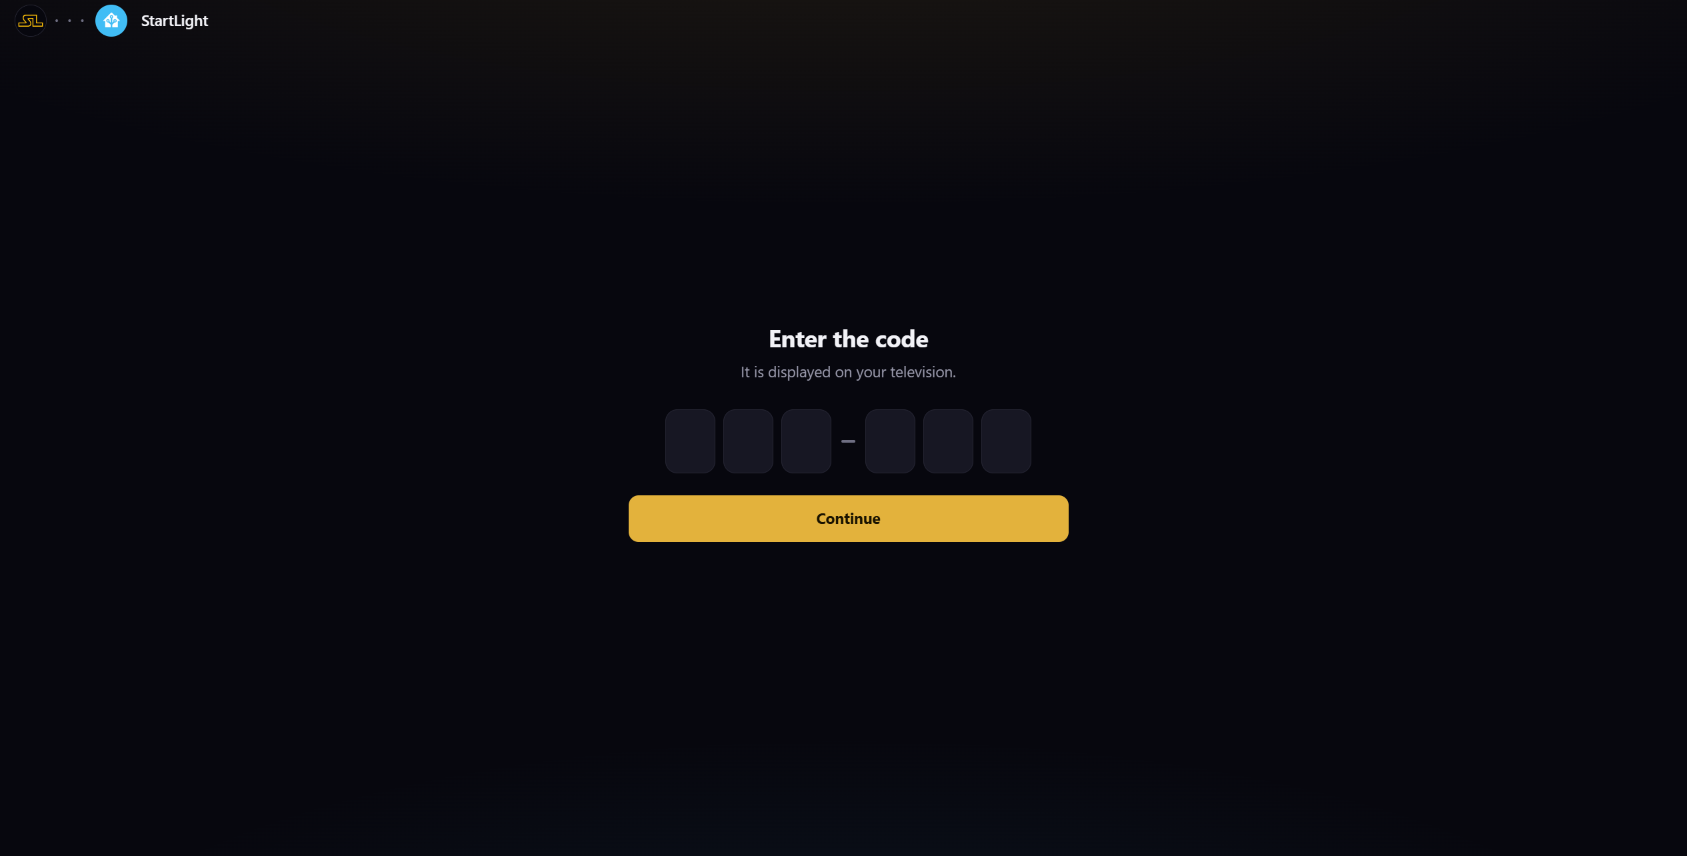
Enter the code
Not needed if you scanned. The device is then remembered: bookmark the page to come back without the code.
- 04
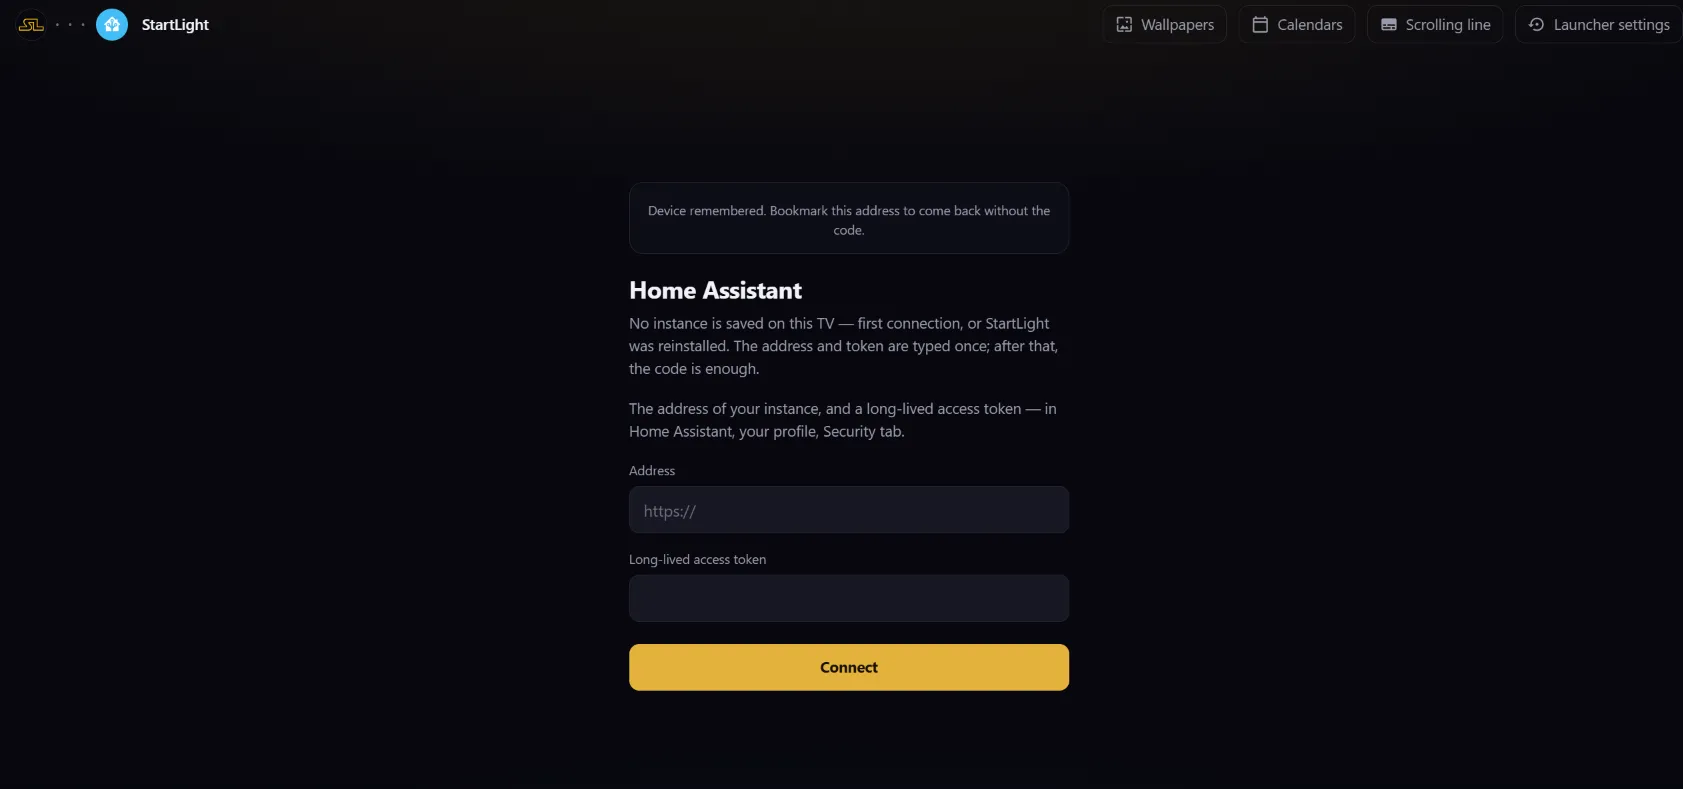
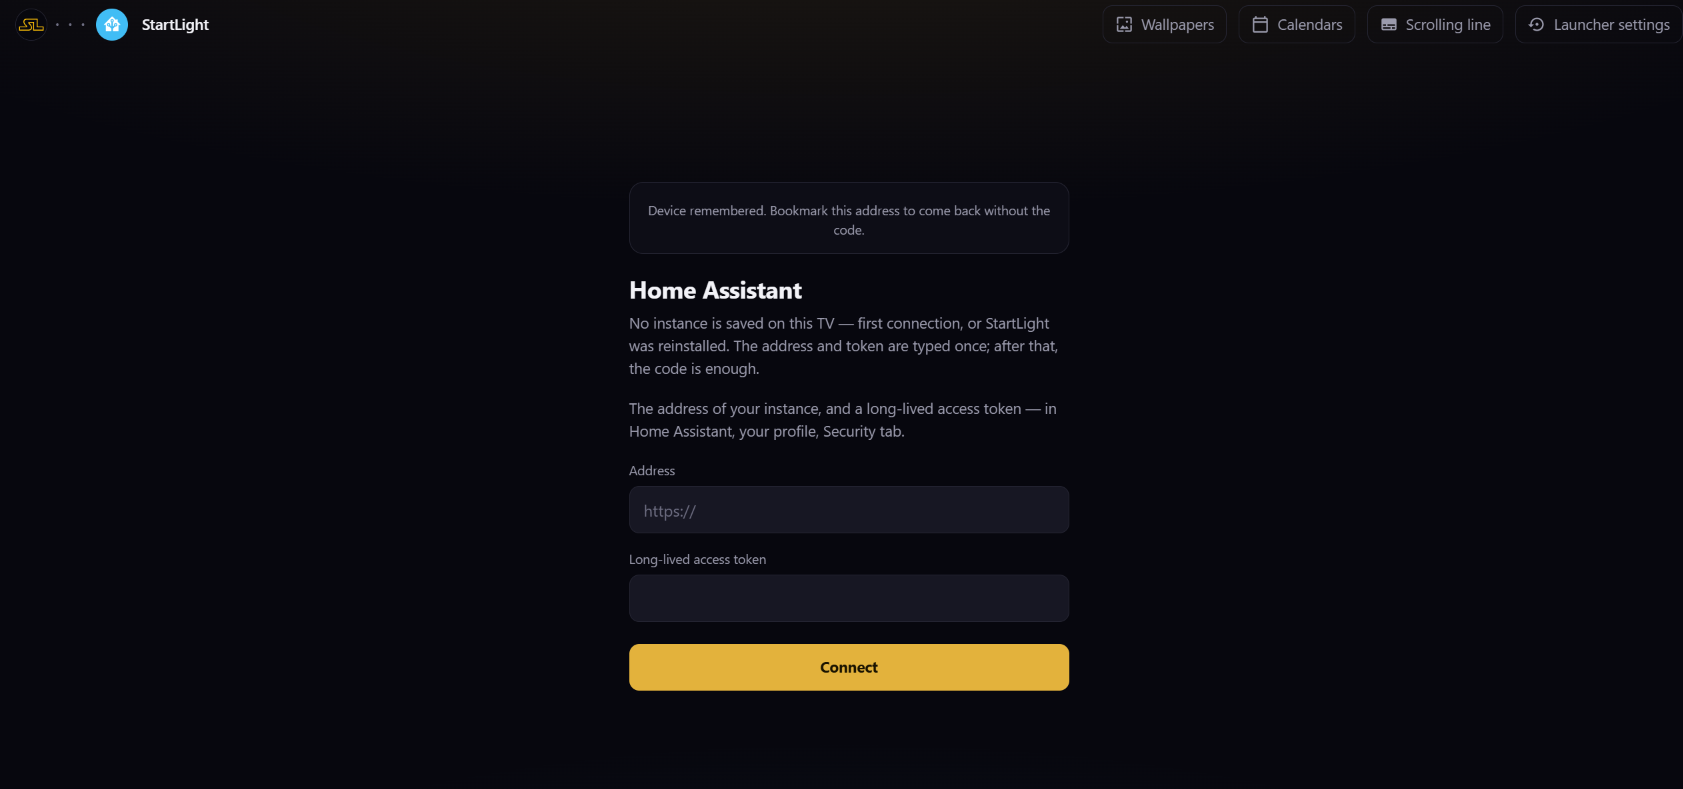
Address and token
The address of your instance, and a long-lived access token created in Home Assistant under your profile, Security tab. Typed once; on the TV, the token is sealed by the Android Keystore.
- 05
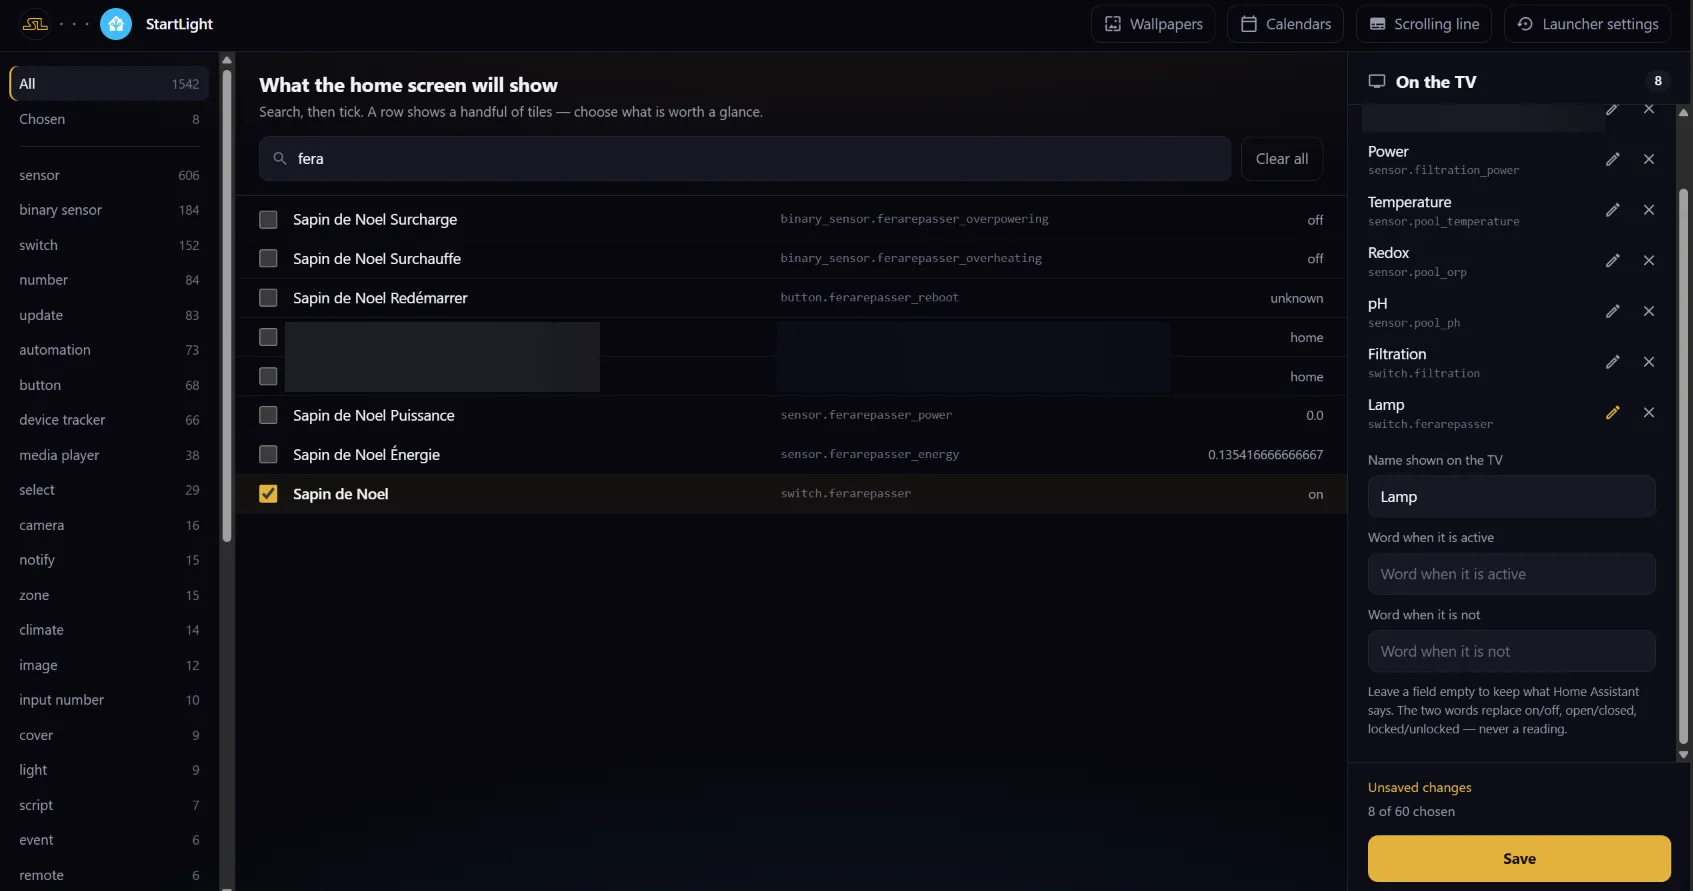
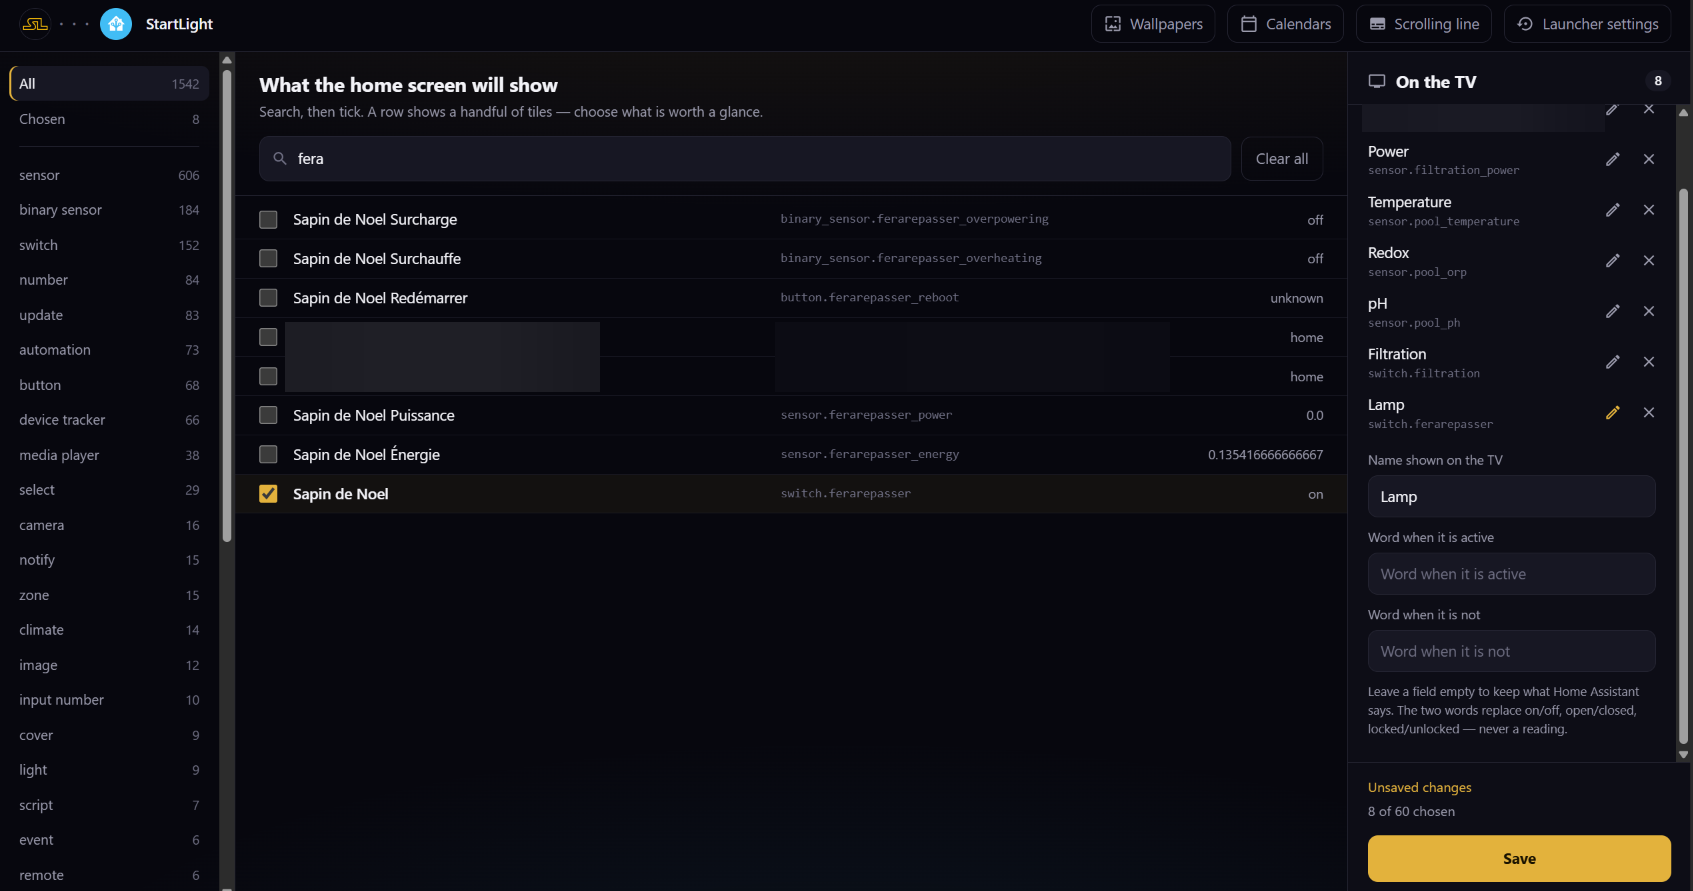
Choose what to show
Search, tick, and give each entity the name and the two words it should show on the TV: “Lamp” rather than the name of a plug, “Open” rather than “on”.
- 06
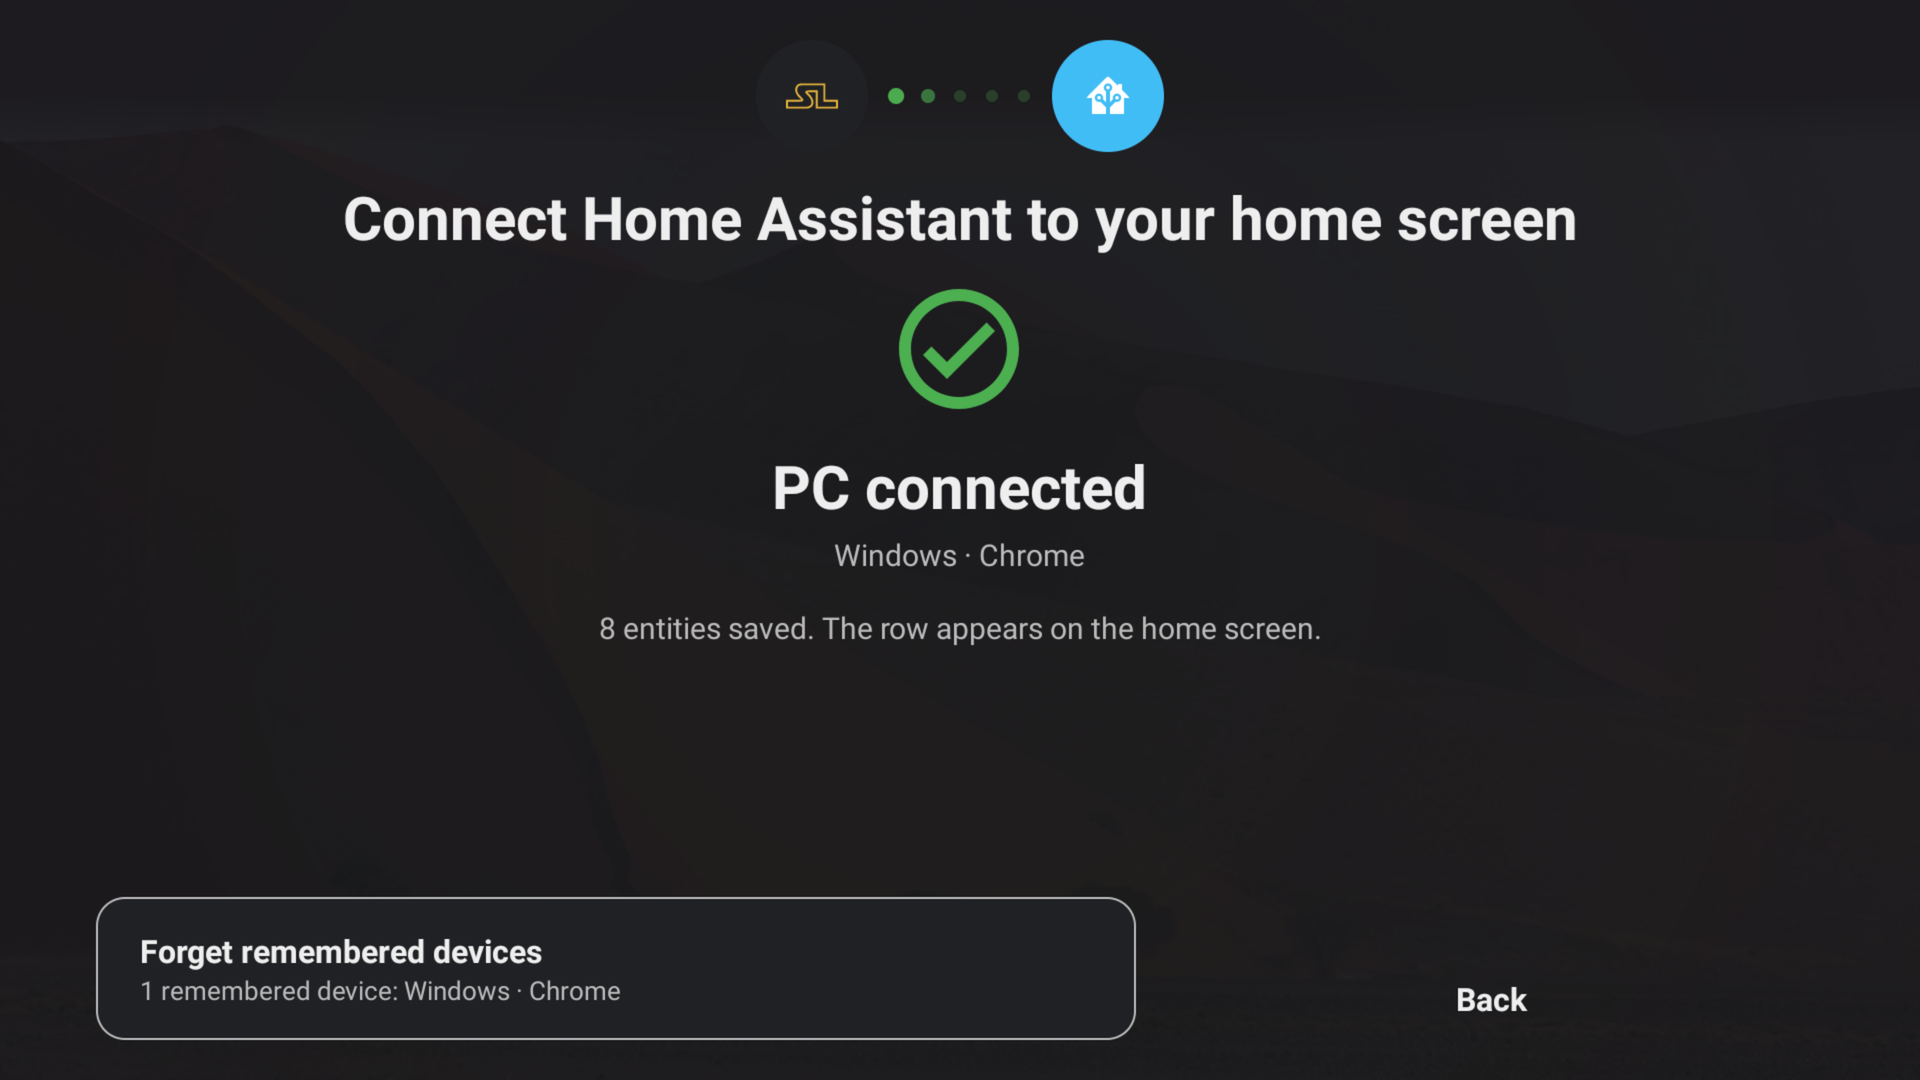
Saved
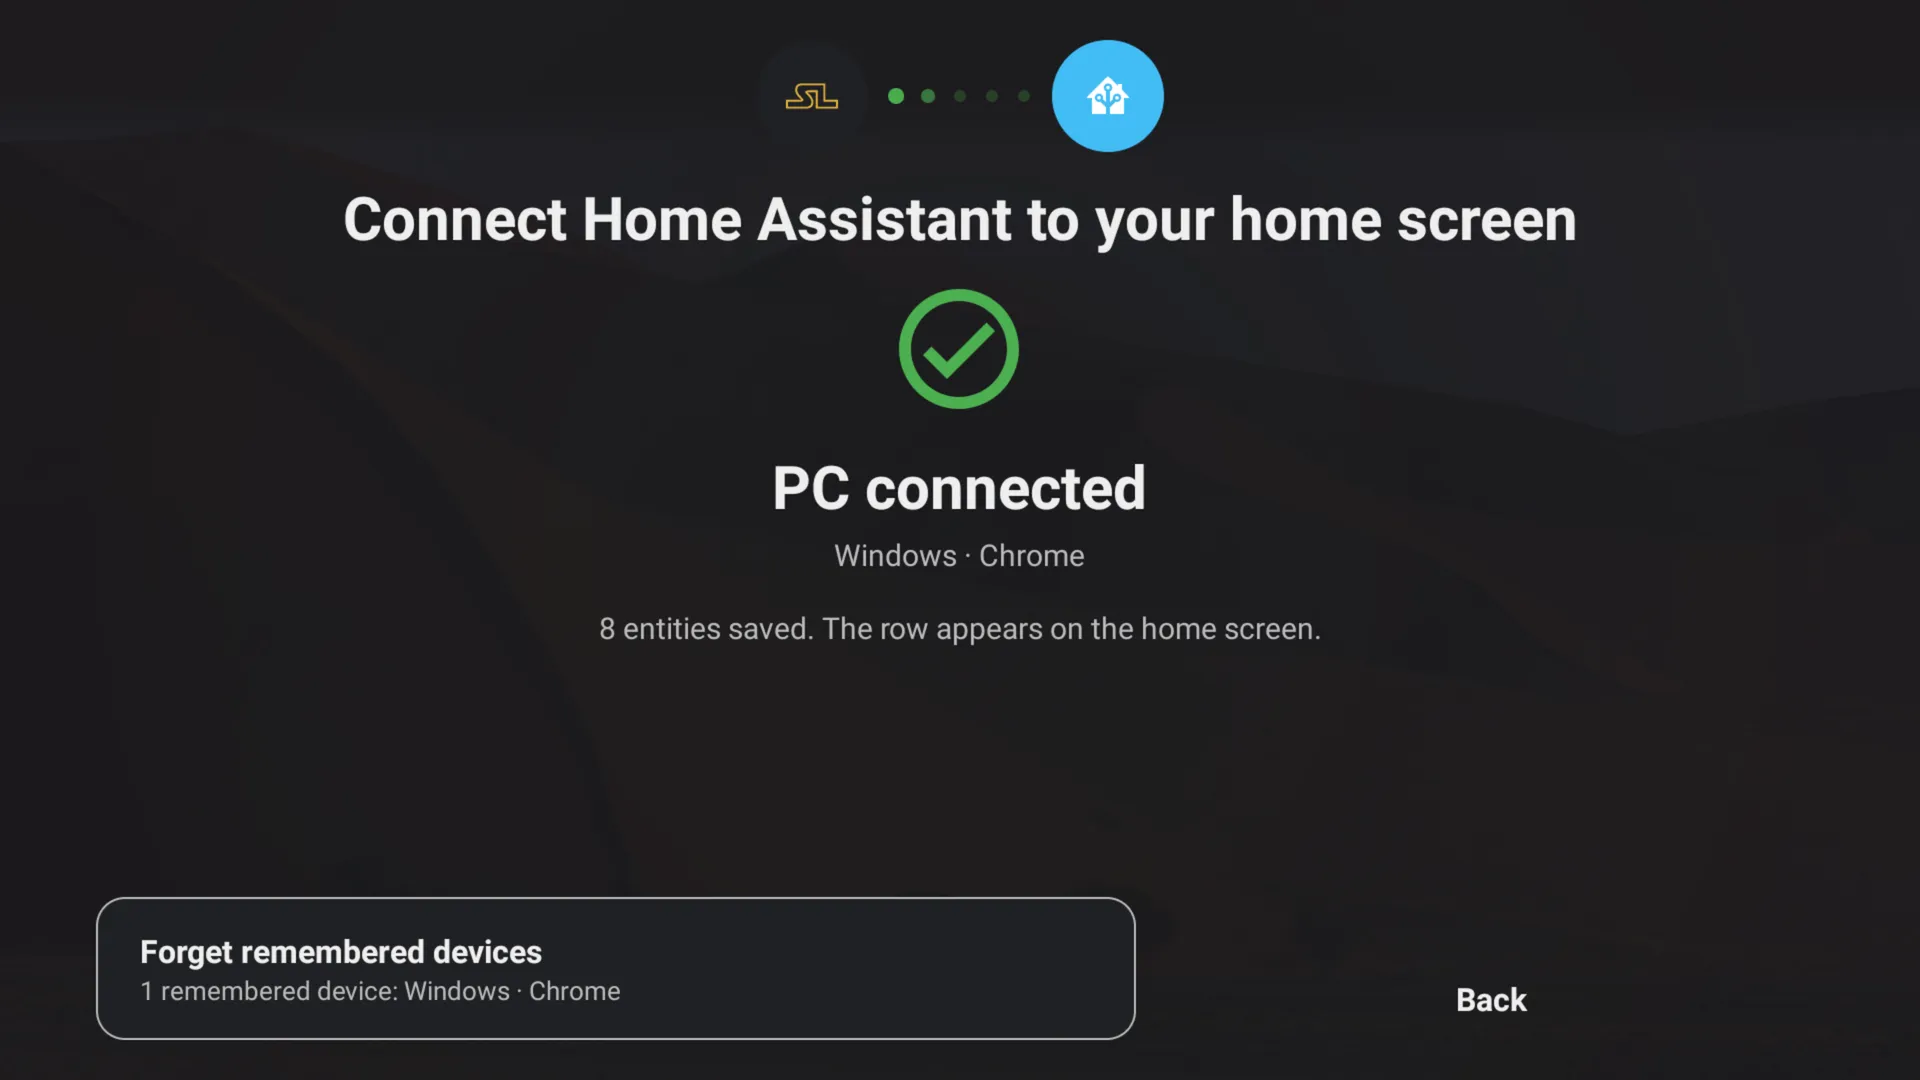
The TV confirms, and the Home row appears on the home screen.
Fine-tune the display
- 01
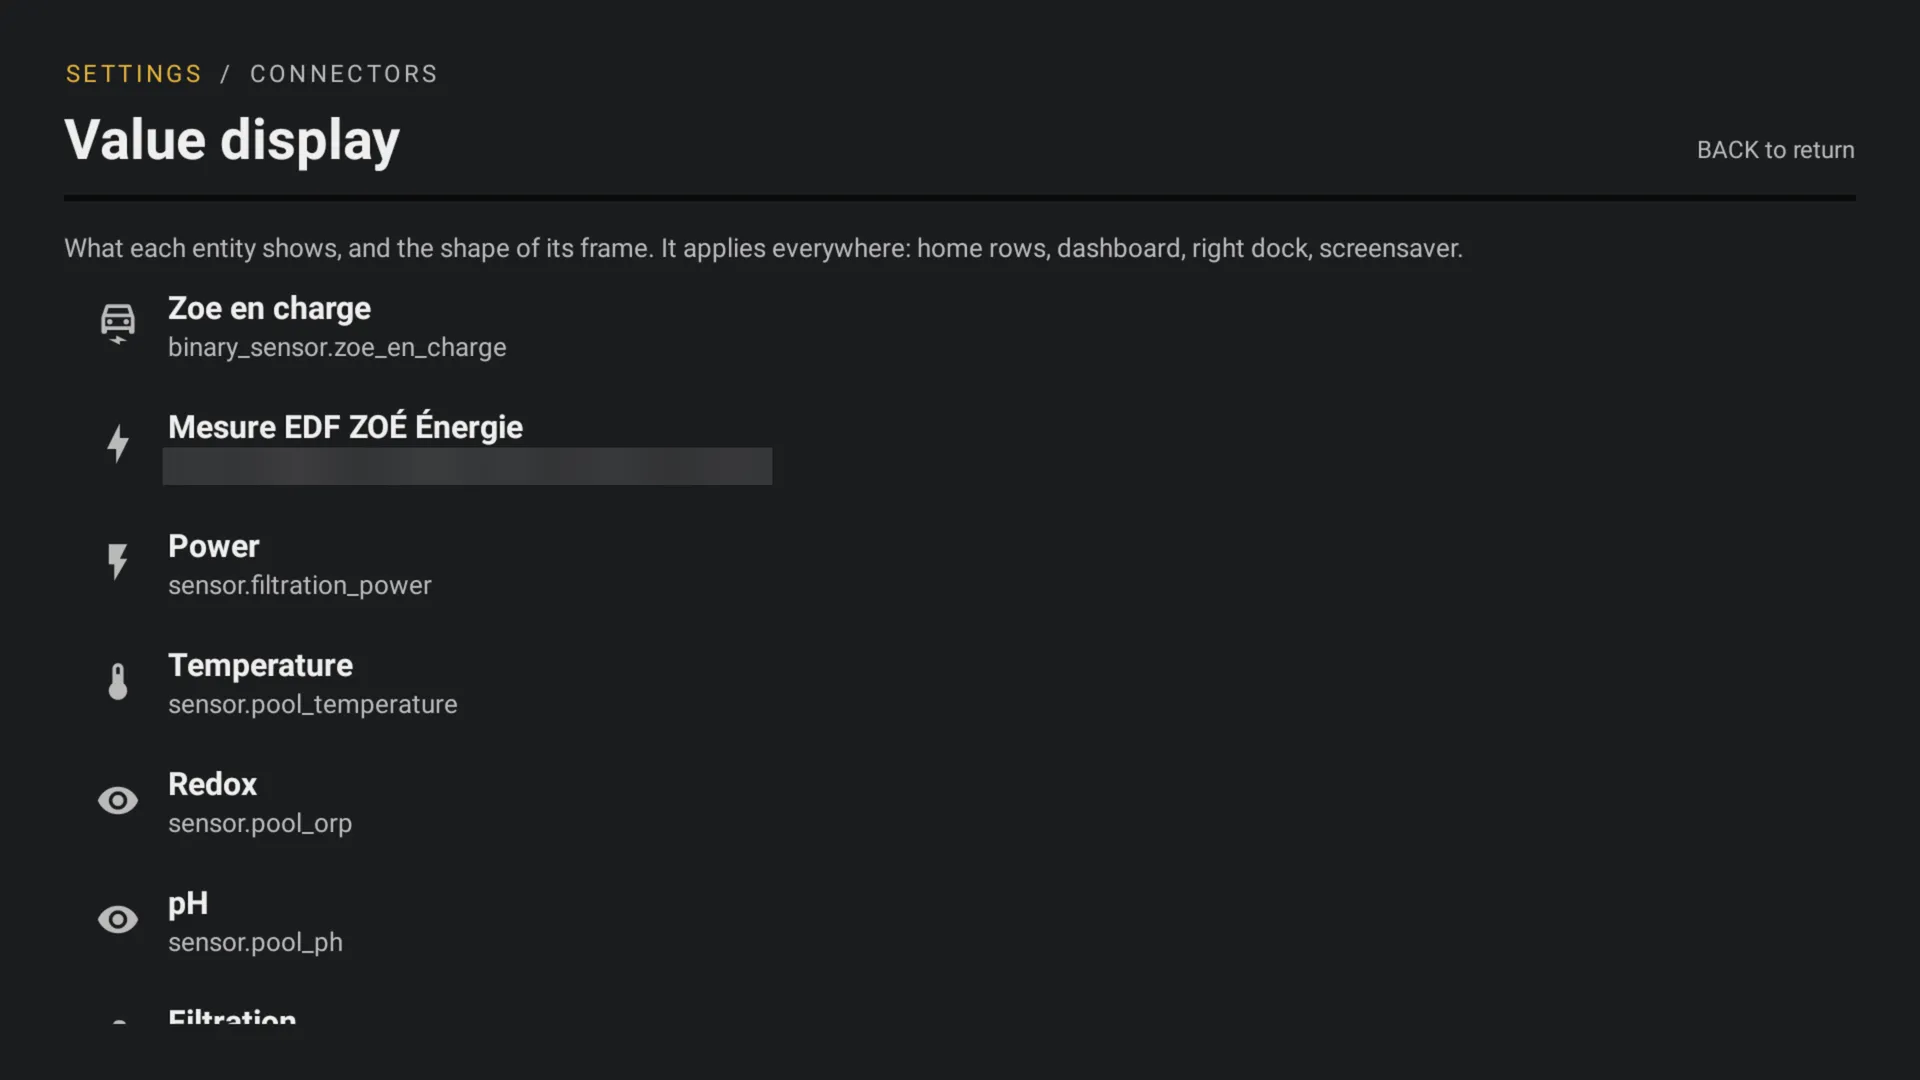
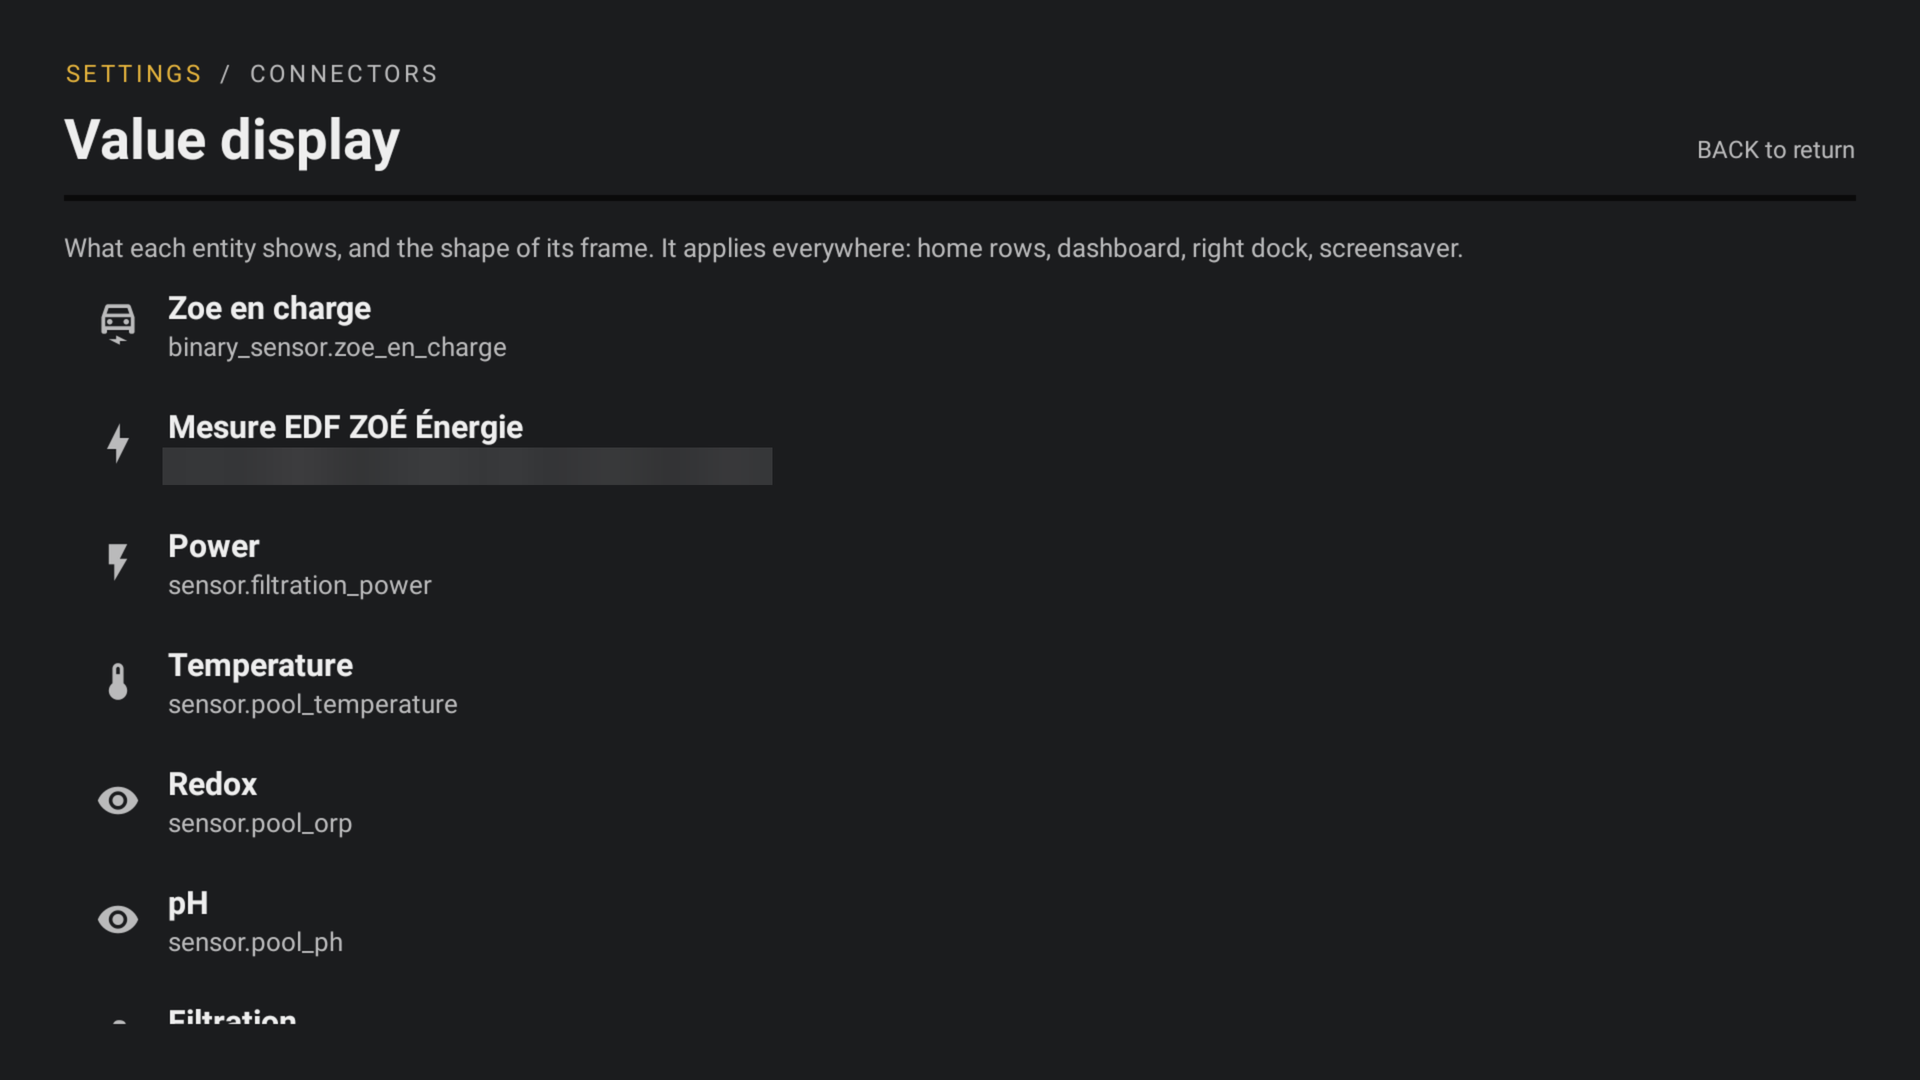
Value display
Settings › Connectors › Value display: for each entity, show or hide its name, value and icon, choose its frame, rename it. It applies everywhere: home rows, dashboard, right-hand panel, screensaver.
- 02
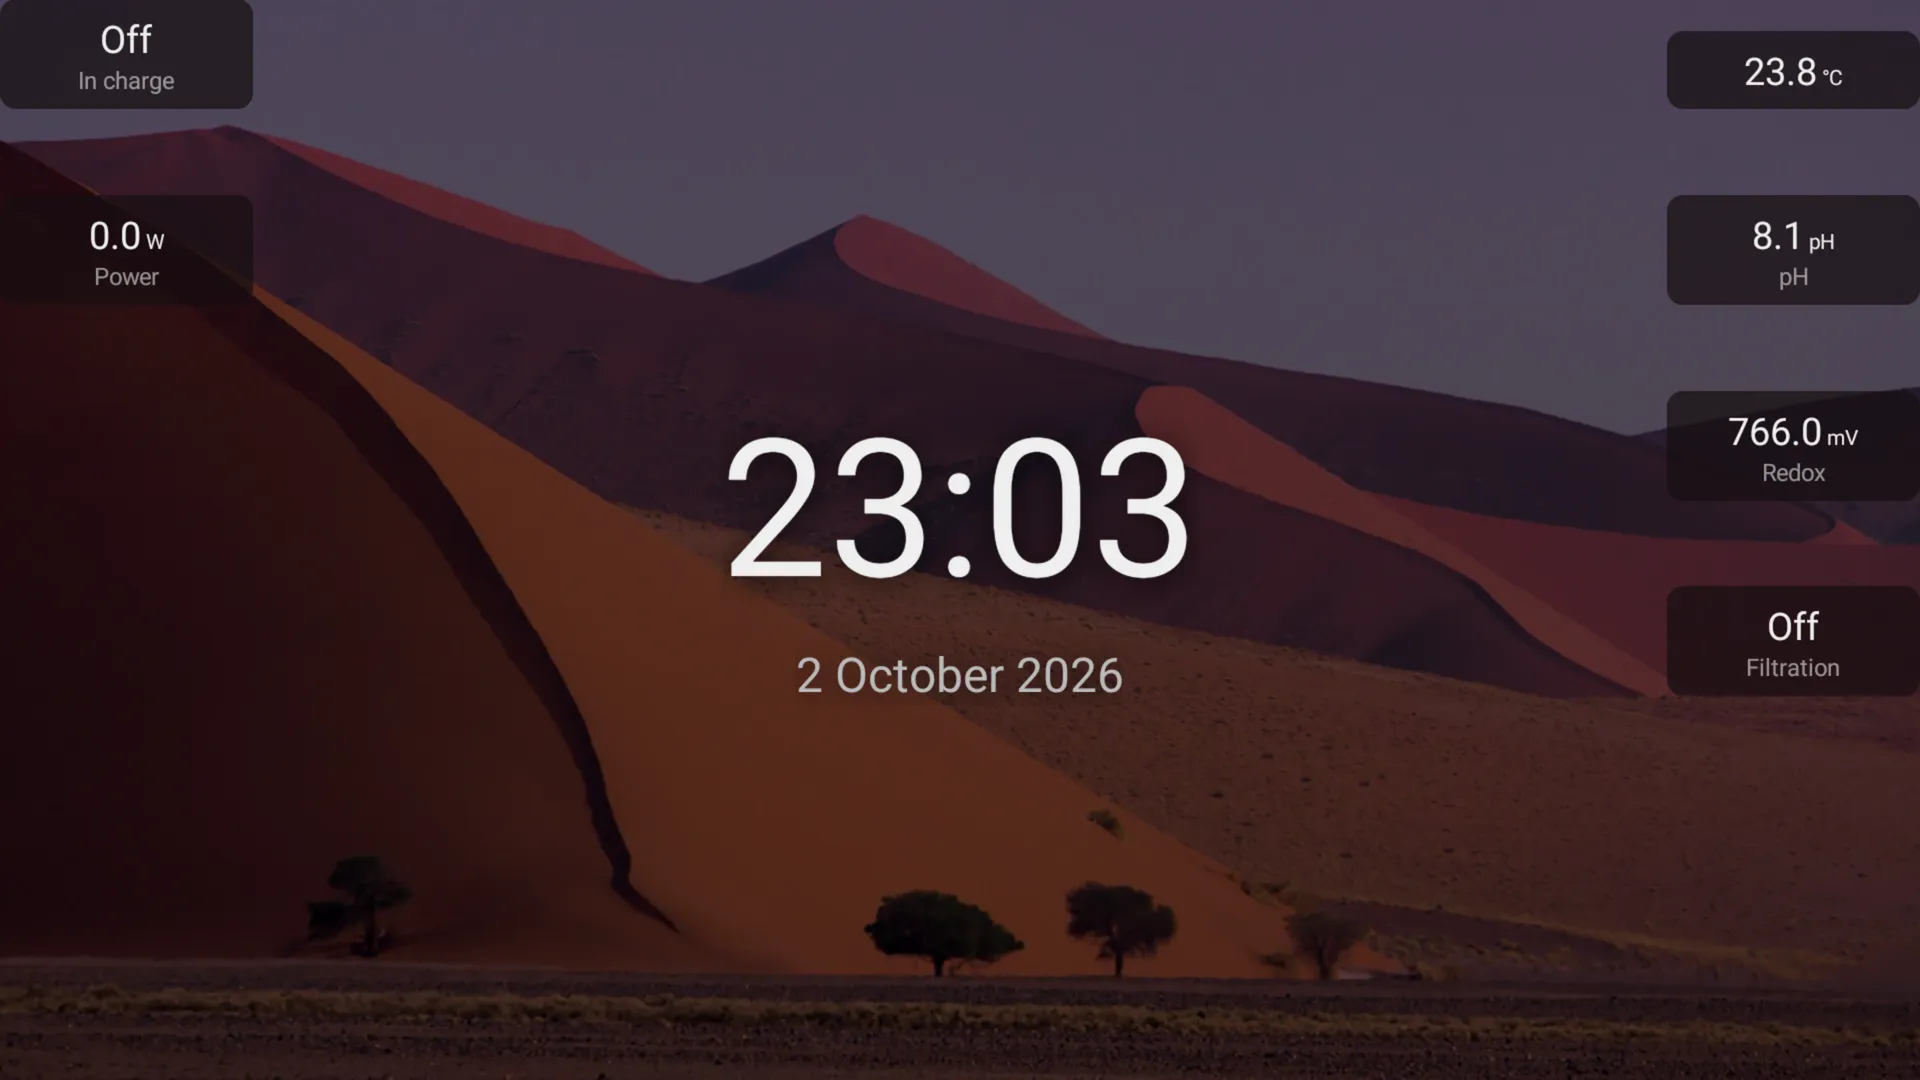
On the screensaver
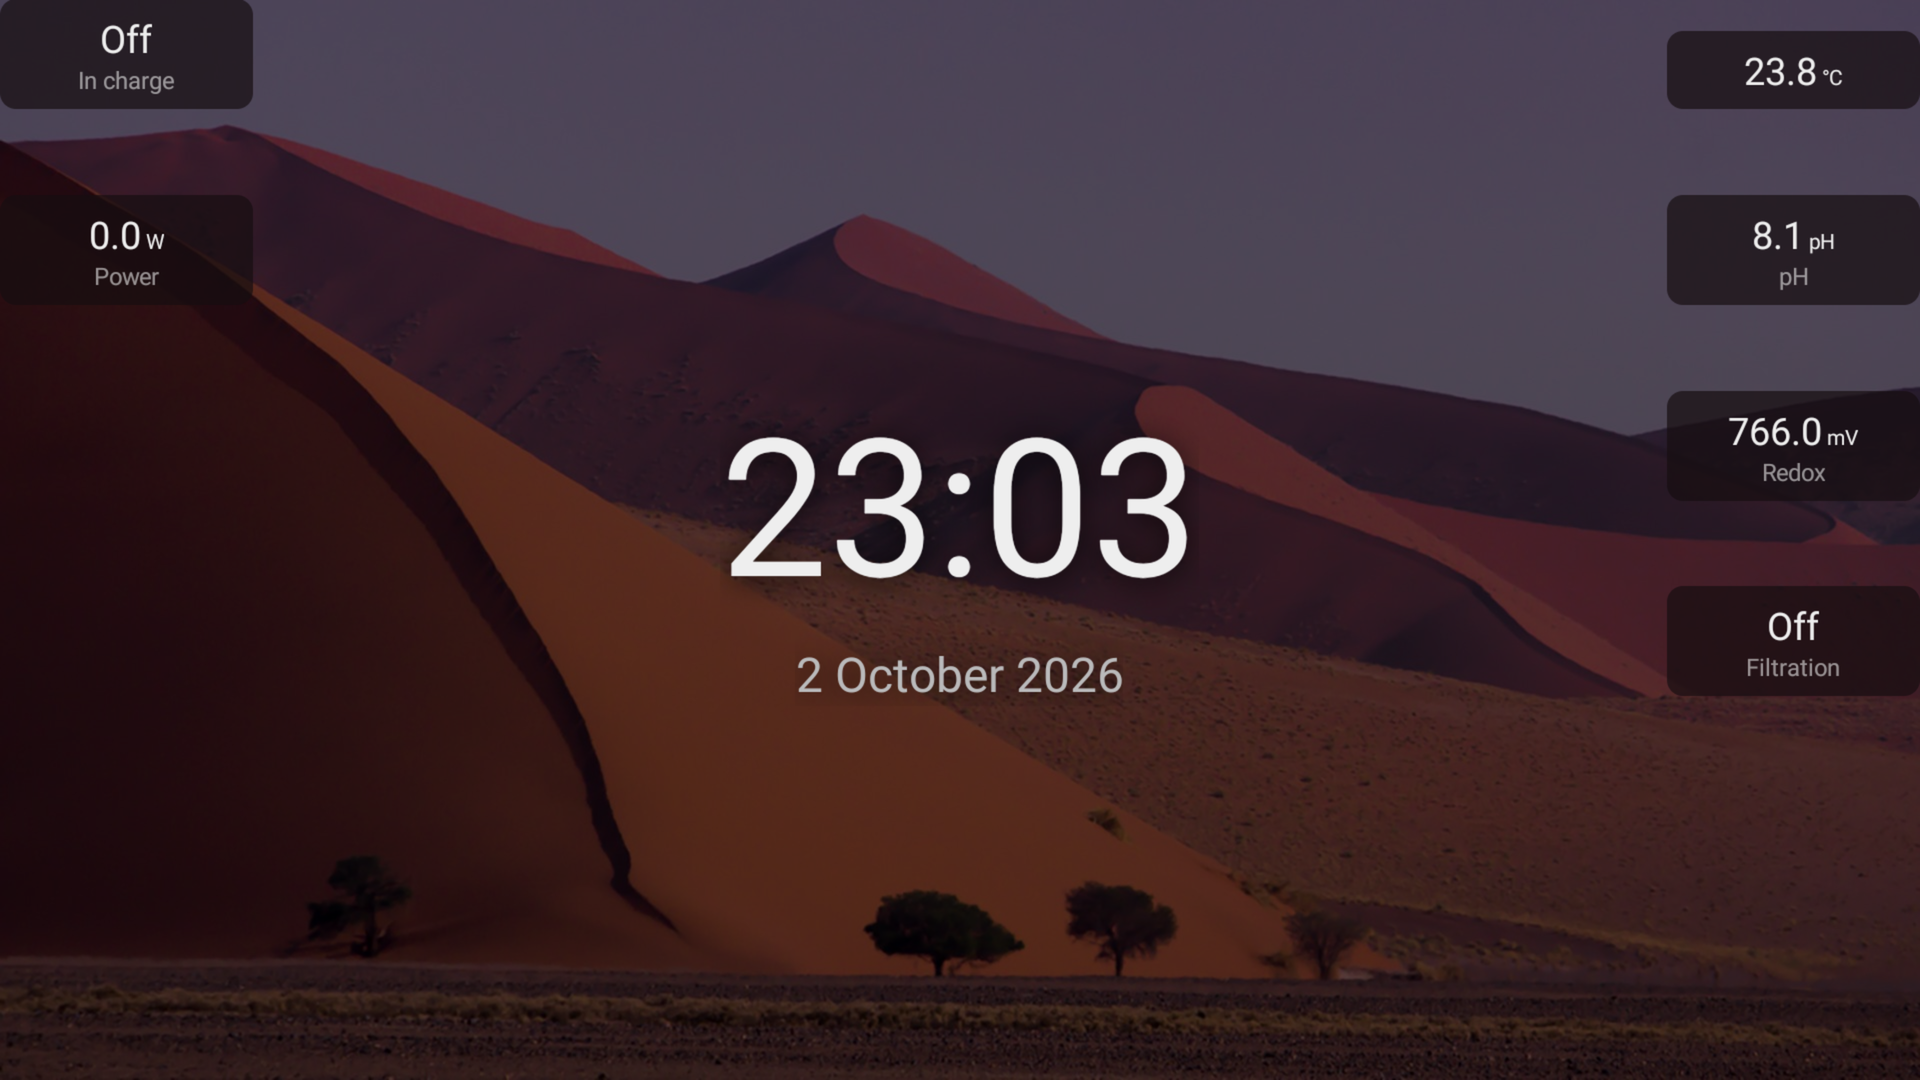
Settings › Screensaver › Placement: put your values around the clock. They show on the “Clock and readings” screensaver, framed in a colour taken from the wallpaper.
Right-hand panels of your own
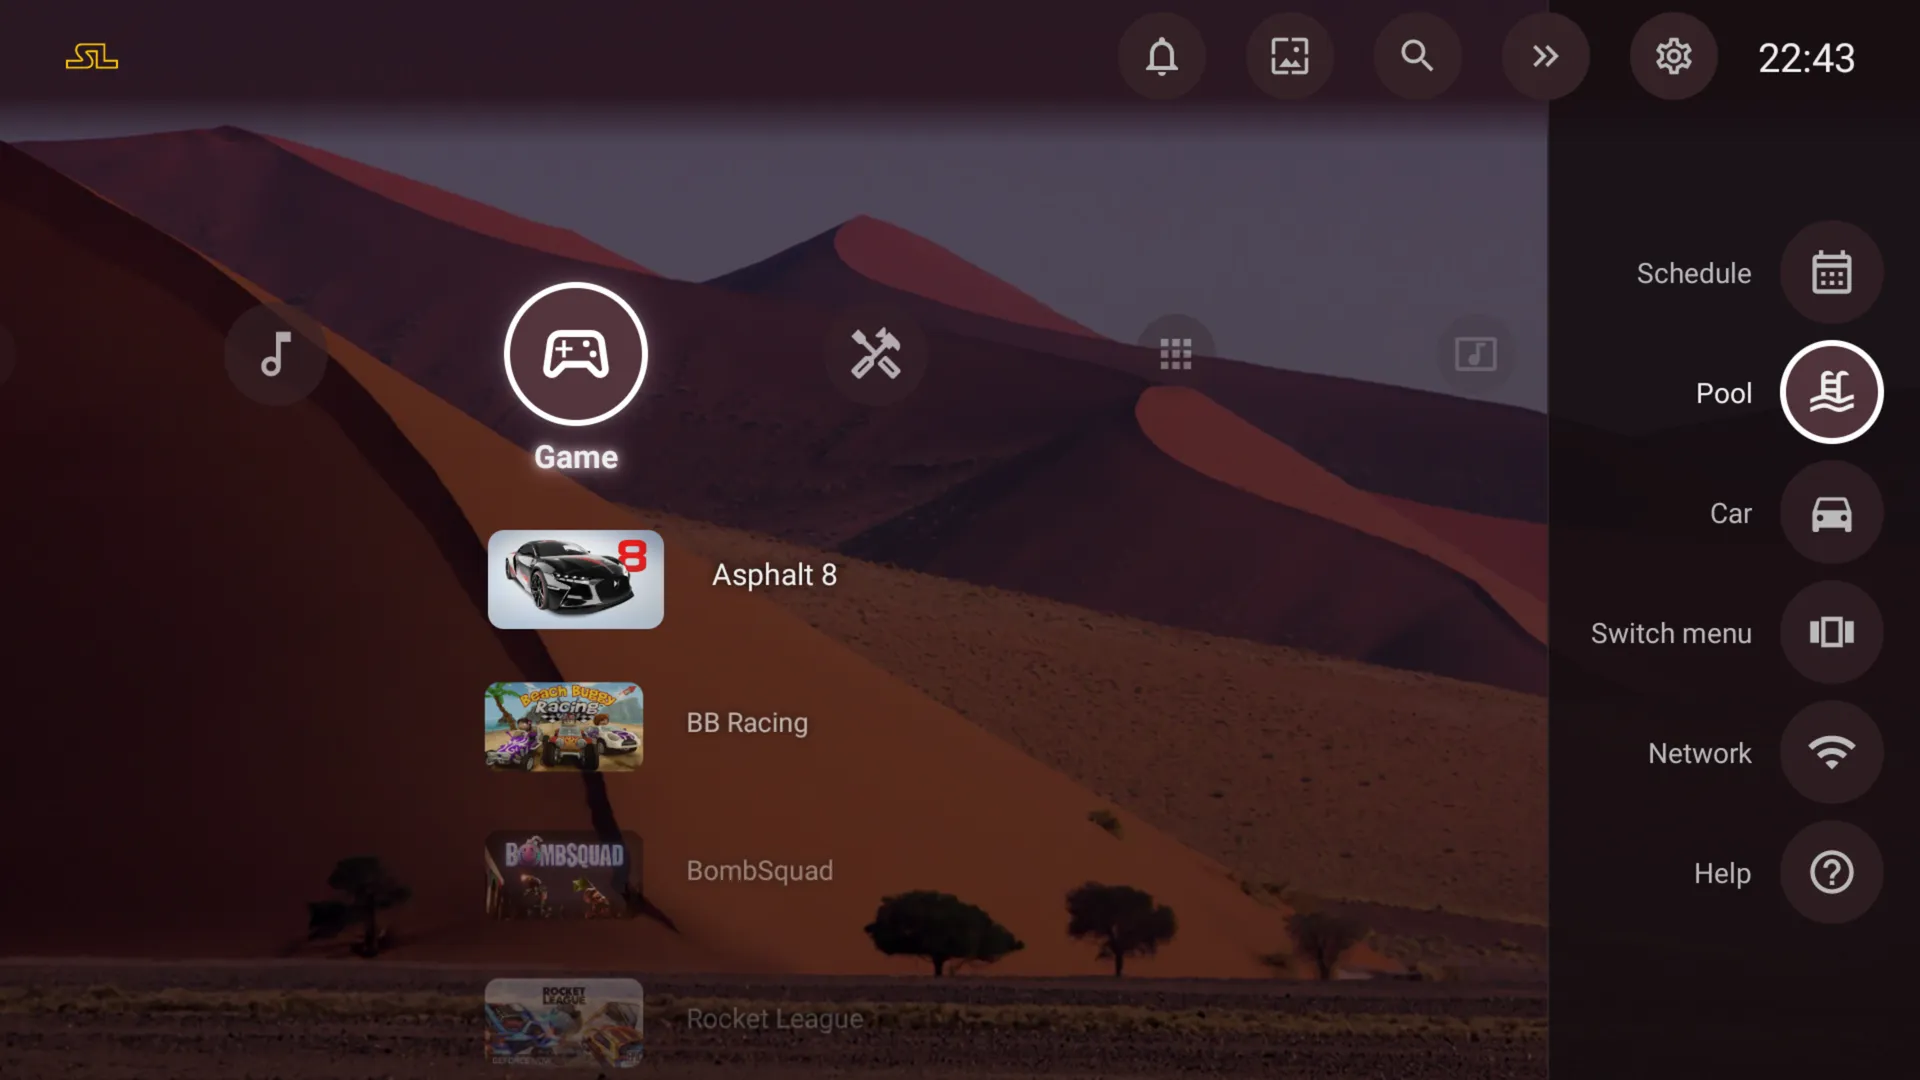
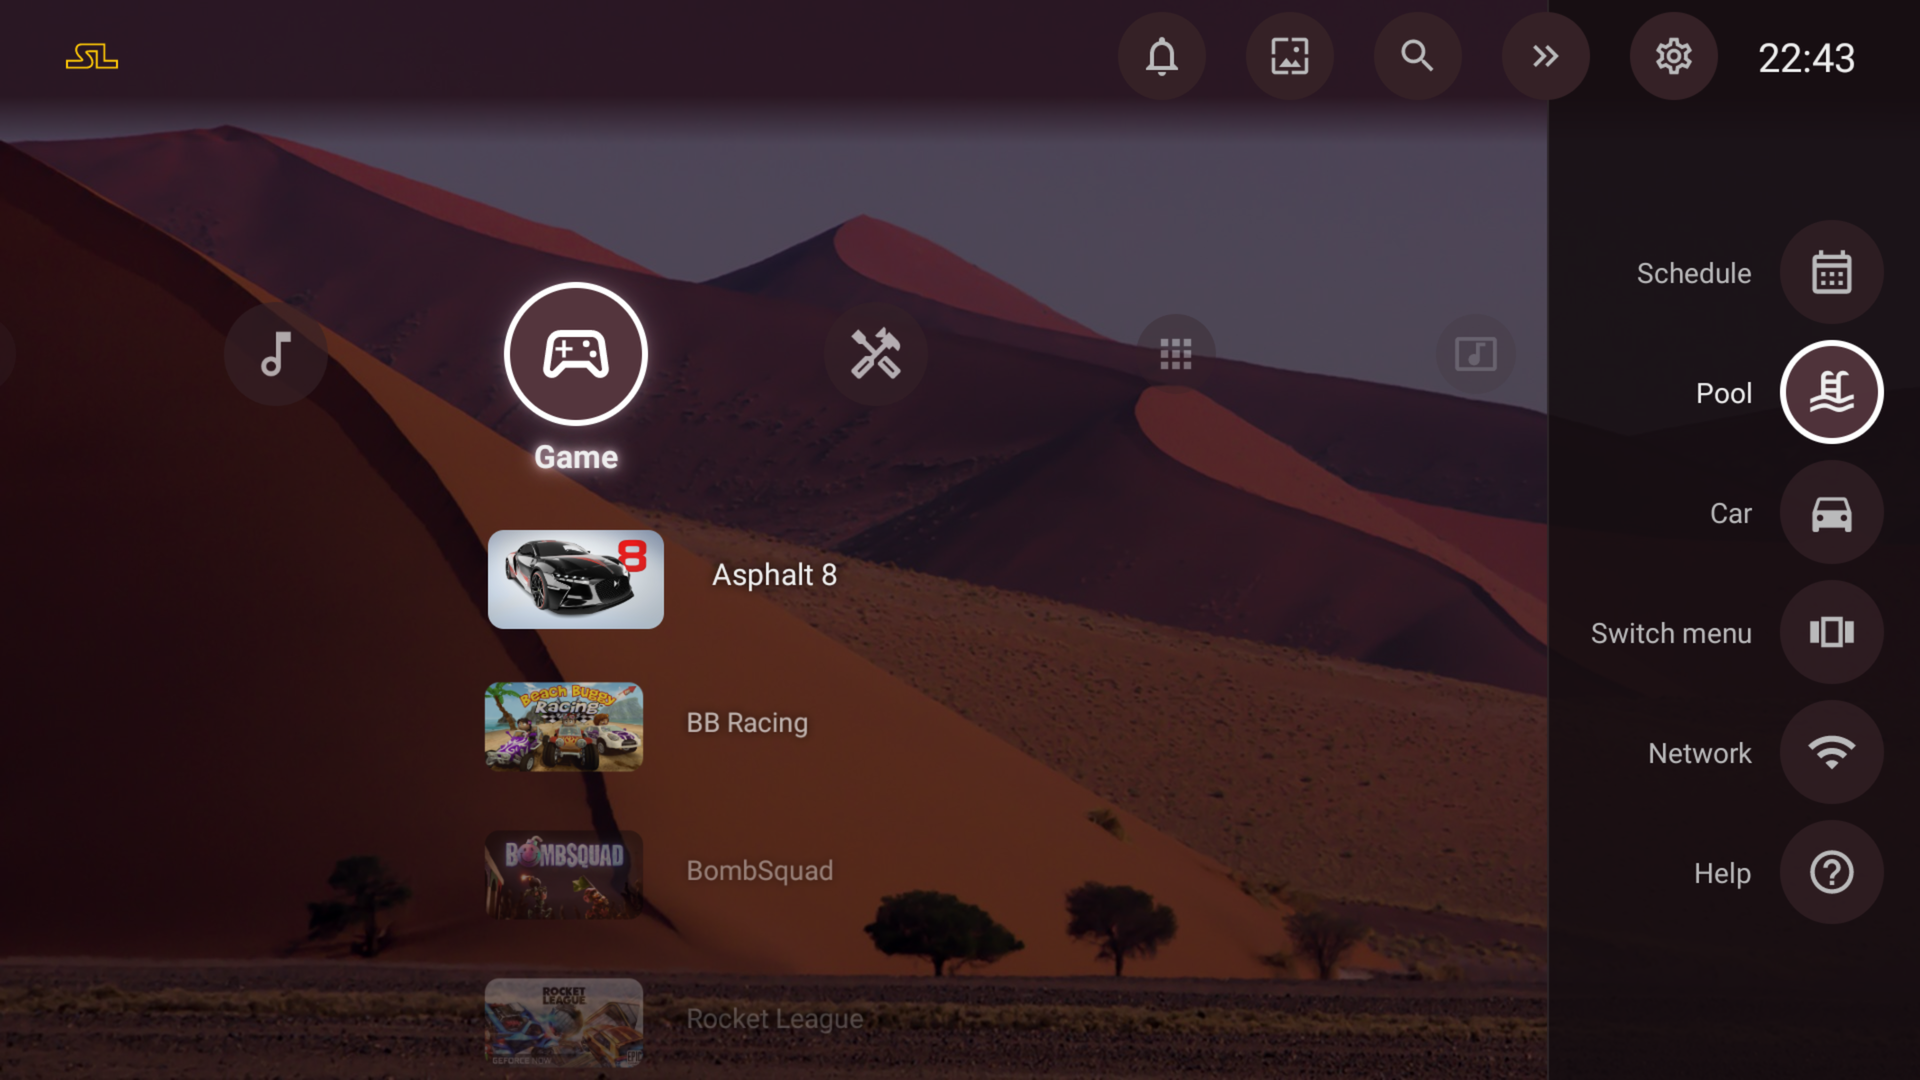
The right-hand panel holds bubbles: an entity, an app, a page, an action. Create as many panels as you need, Pool or Car, each opened by a bubble of its own.
- 01
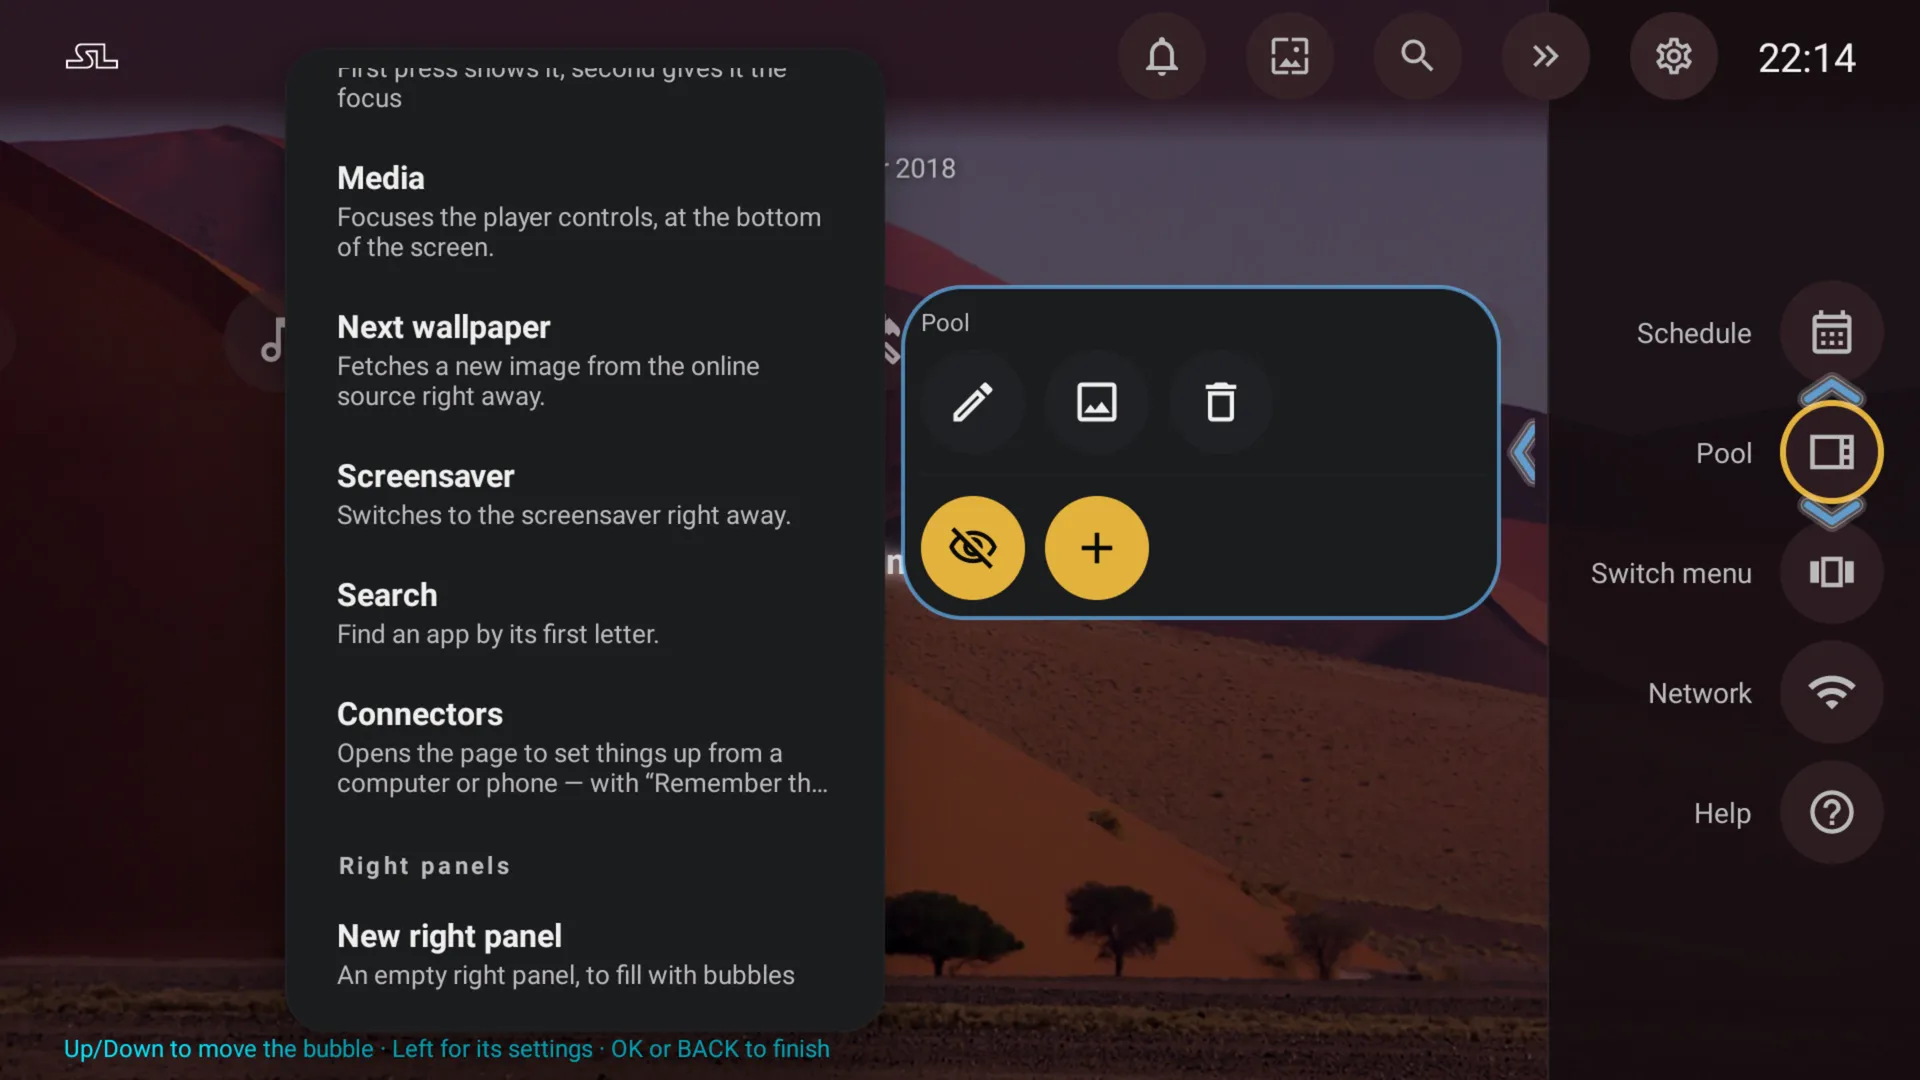
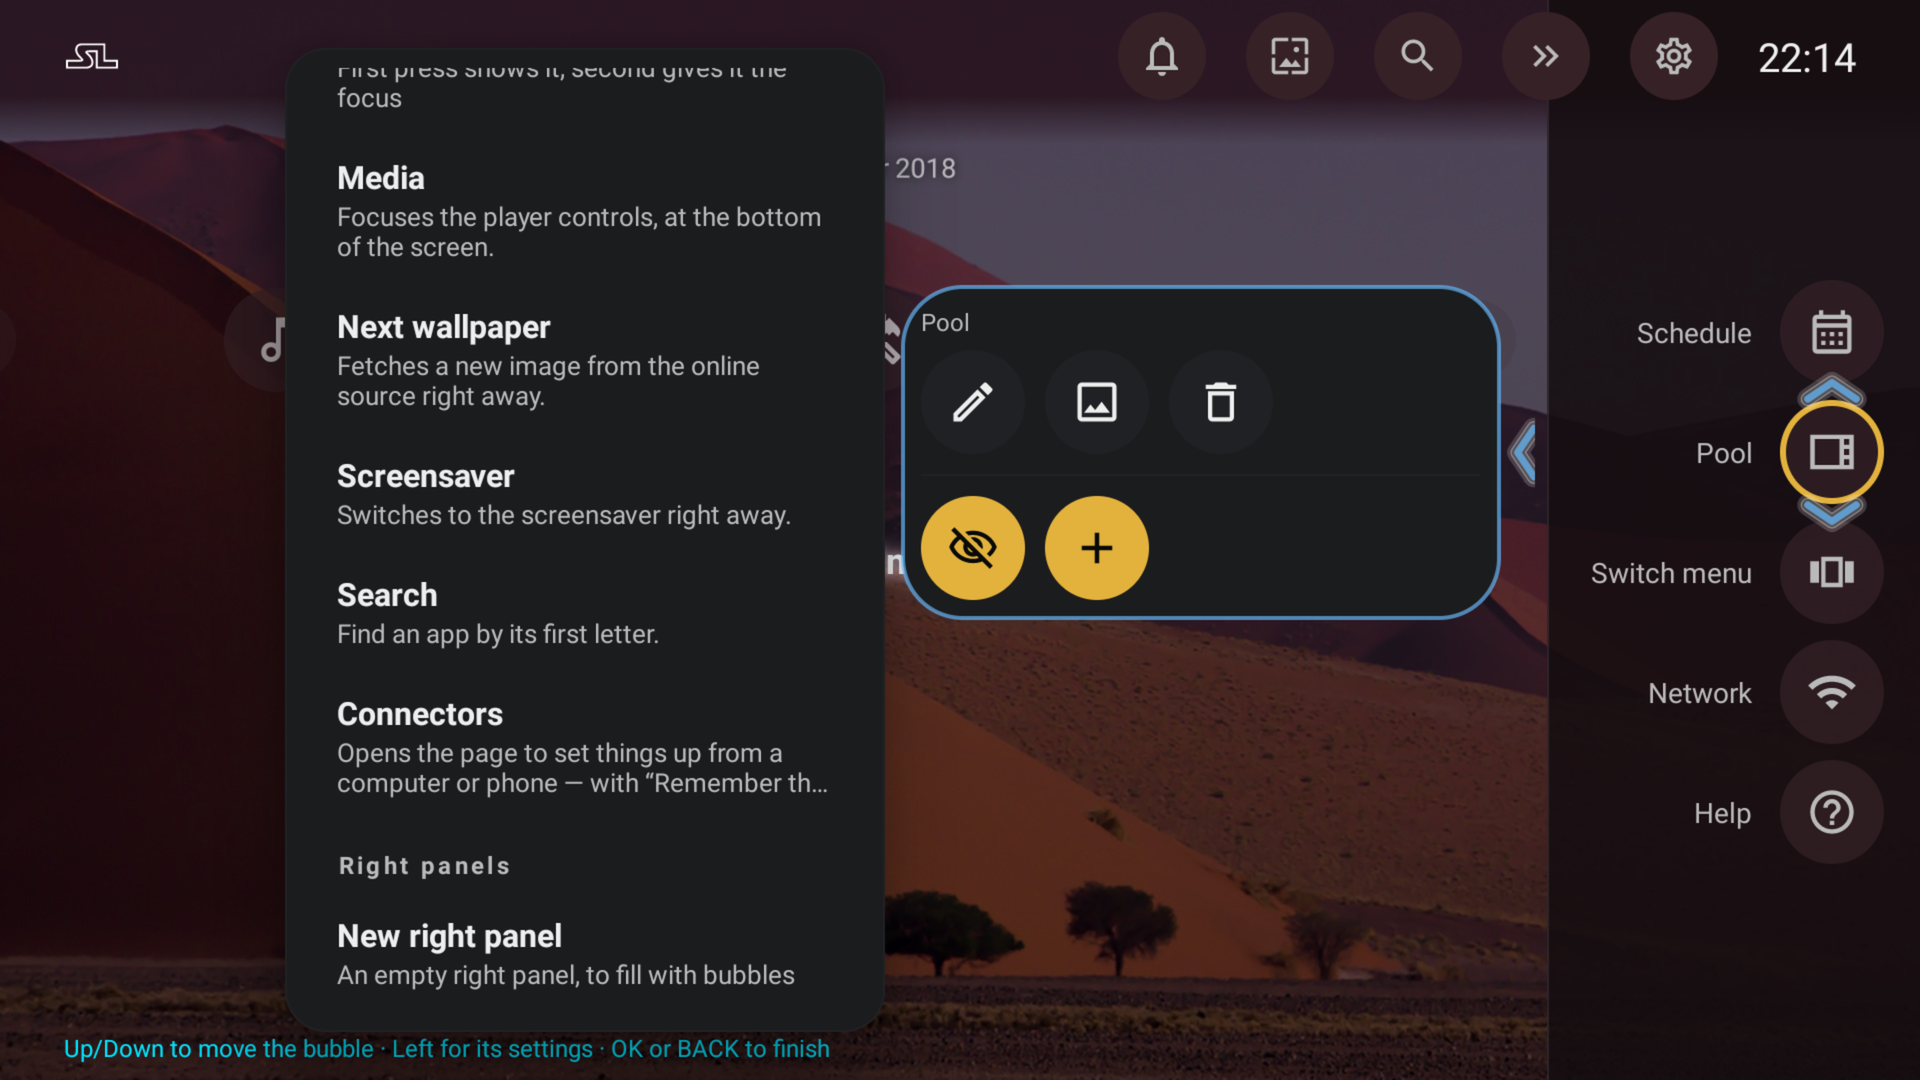
Create a panel
Long-press a bubble, then +. “New right panel” adds an empty panel, with a bubble that opens it.
- 02
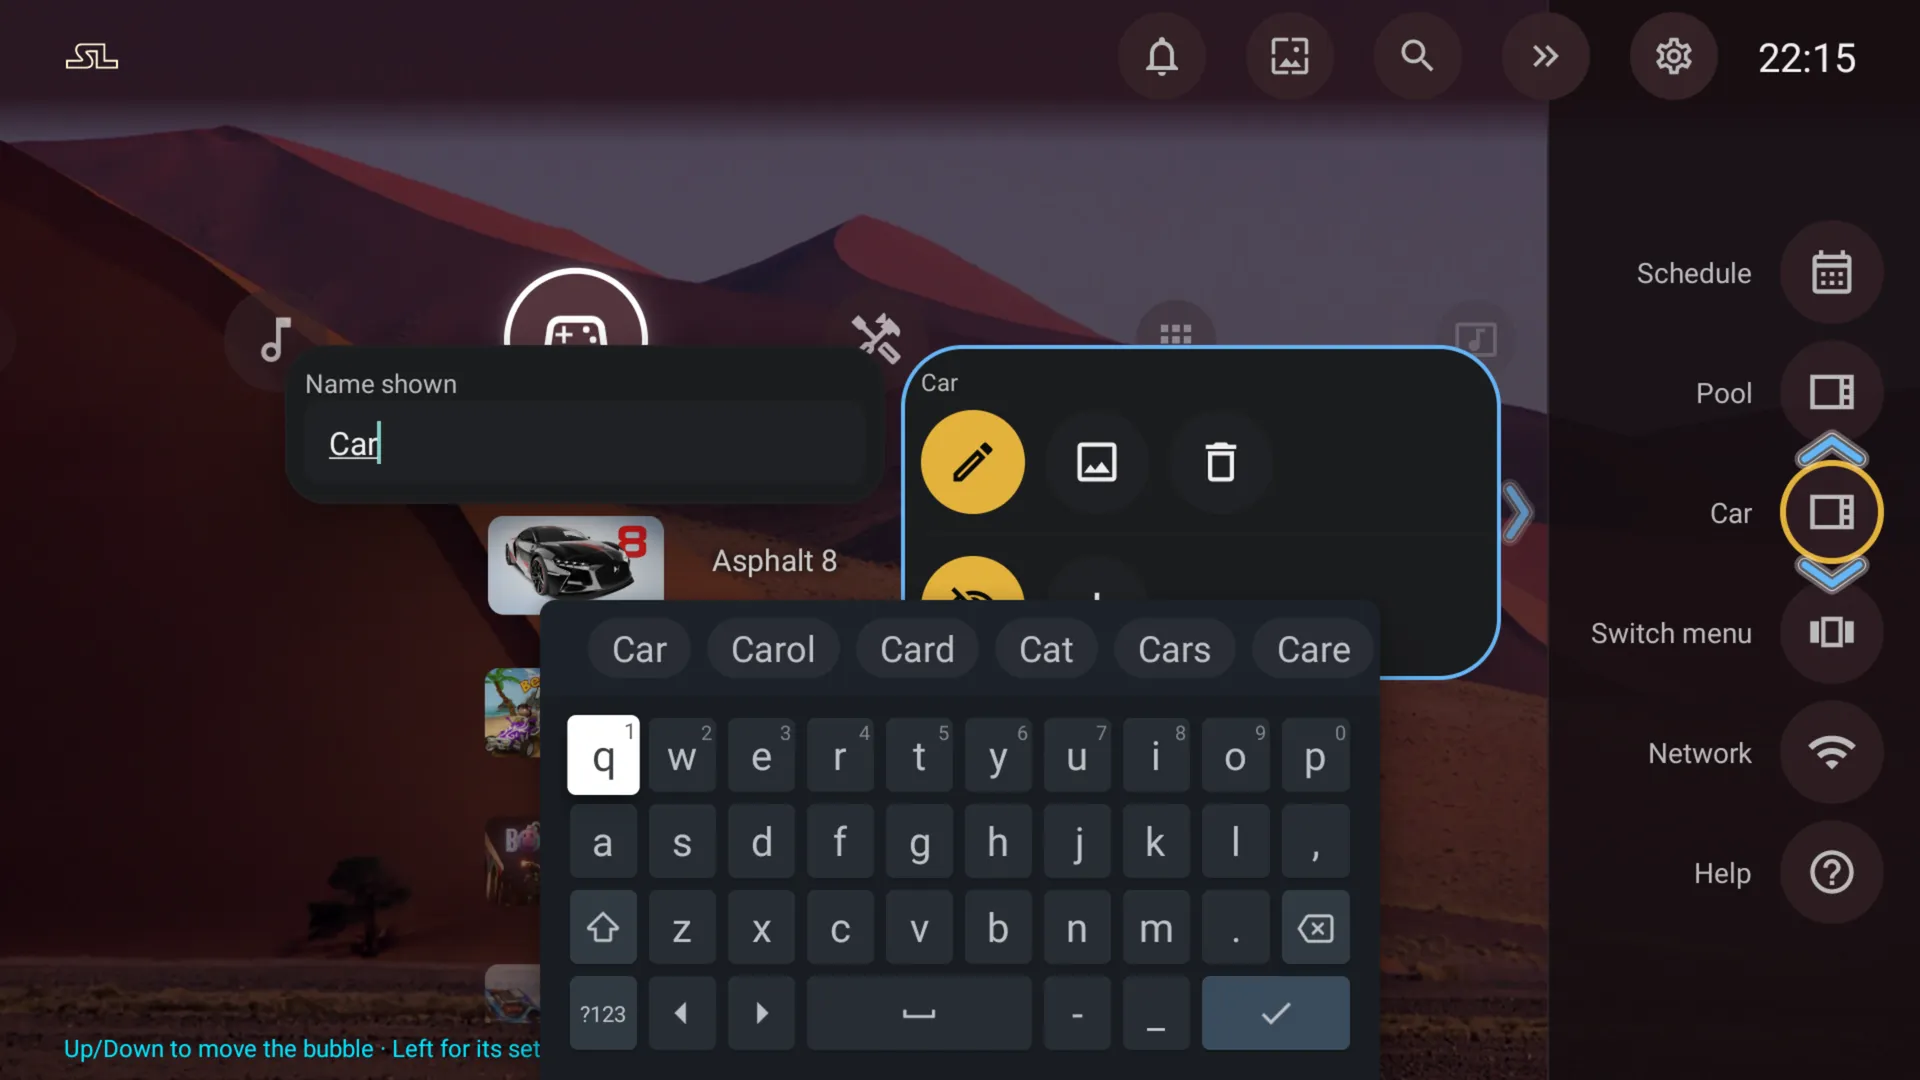
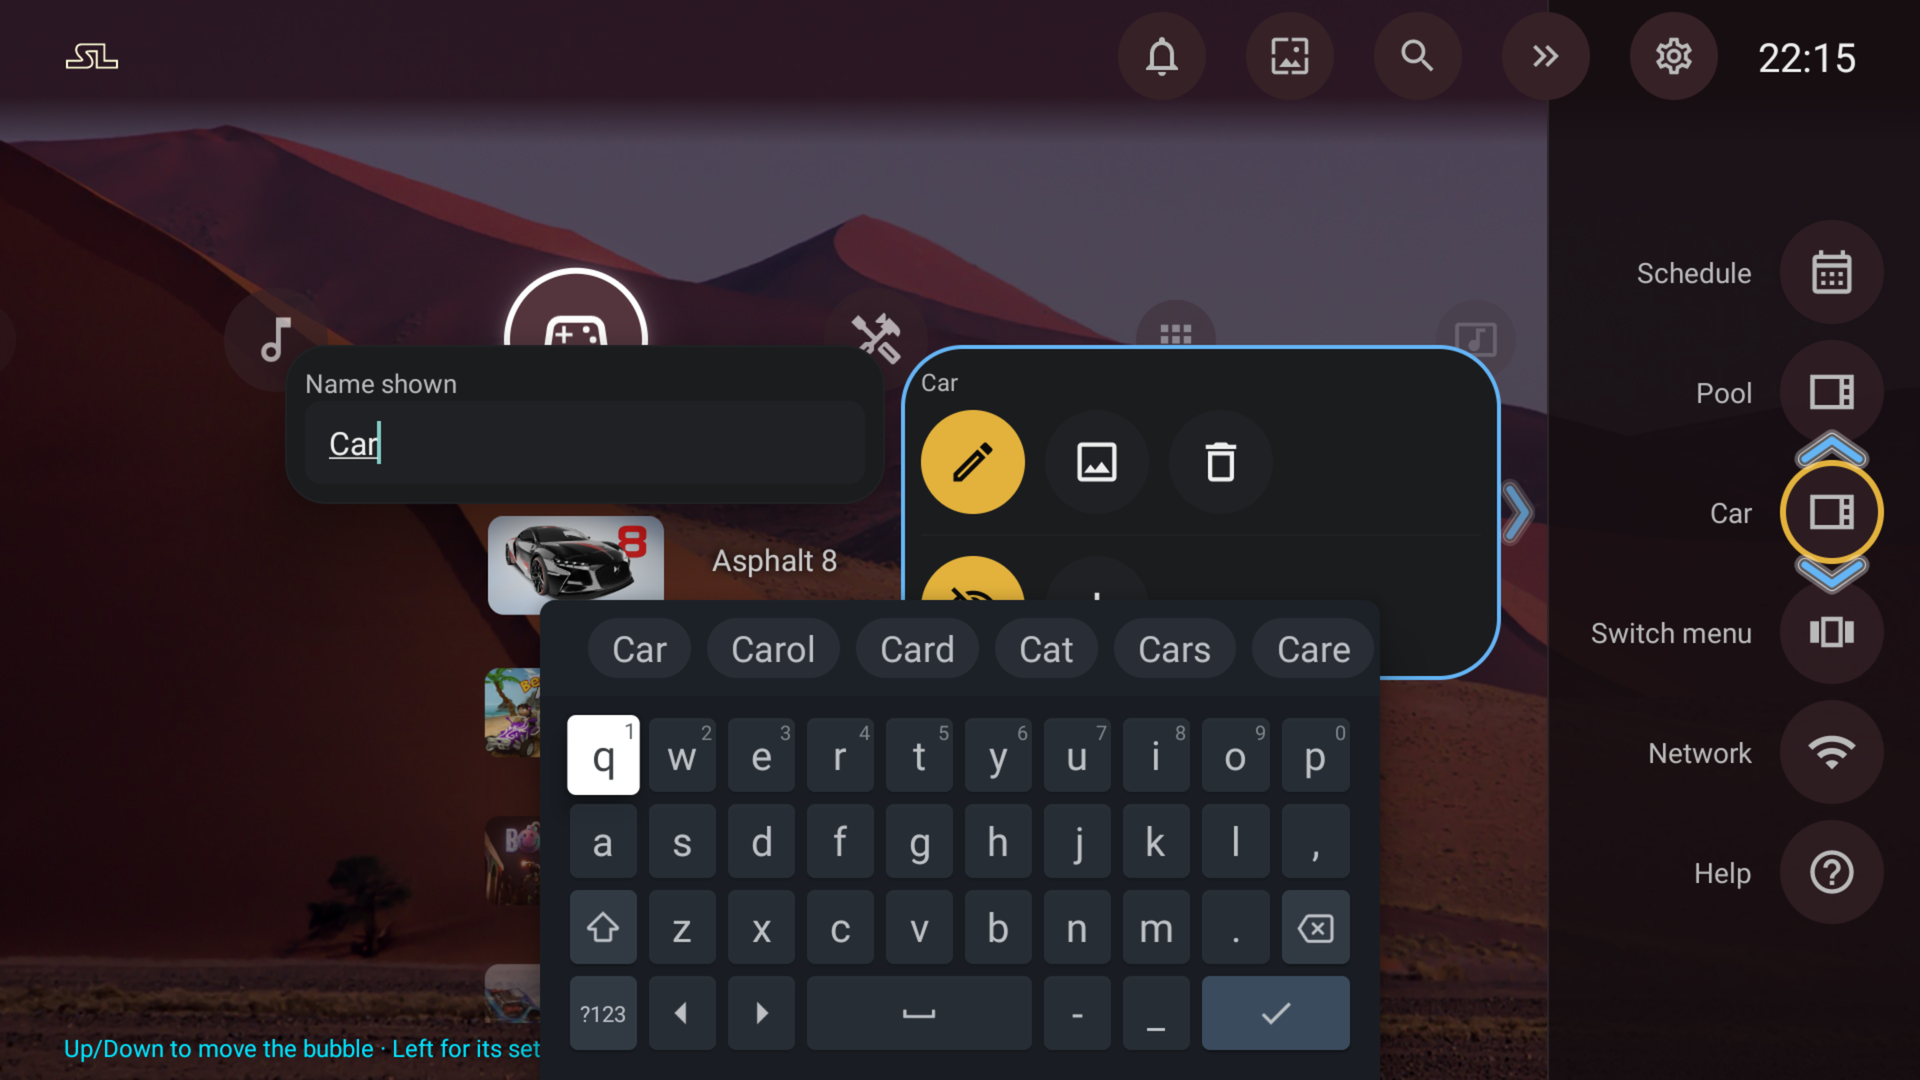
Name it
The pencil renames it, with the remote.
- 03
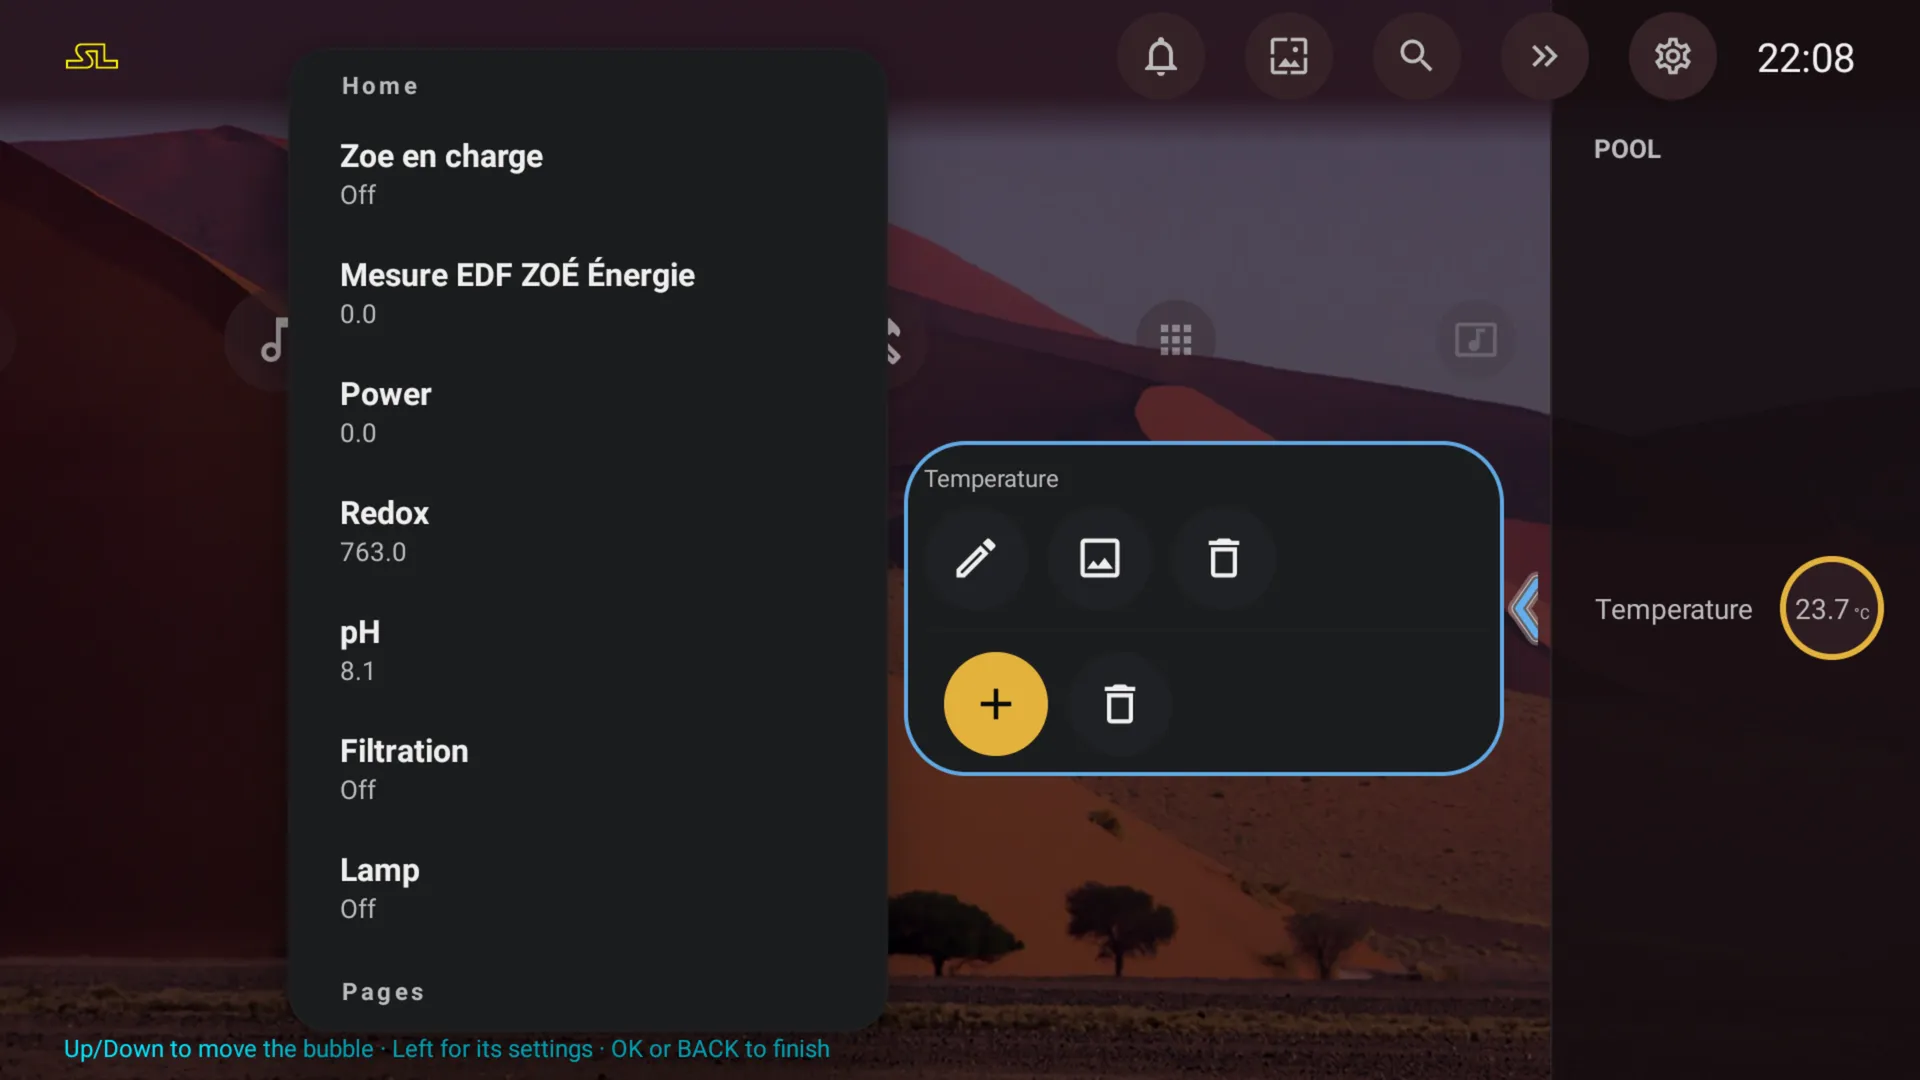
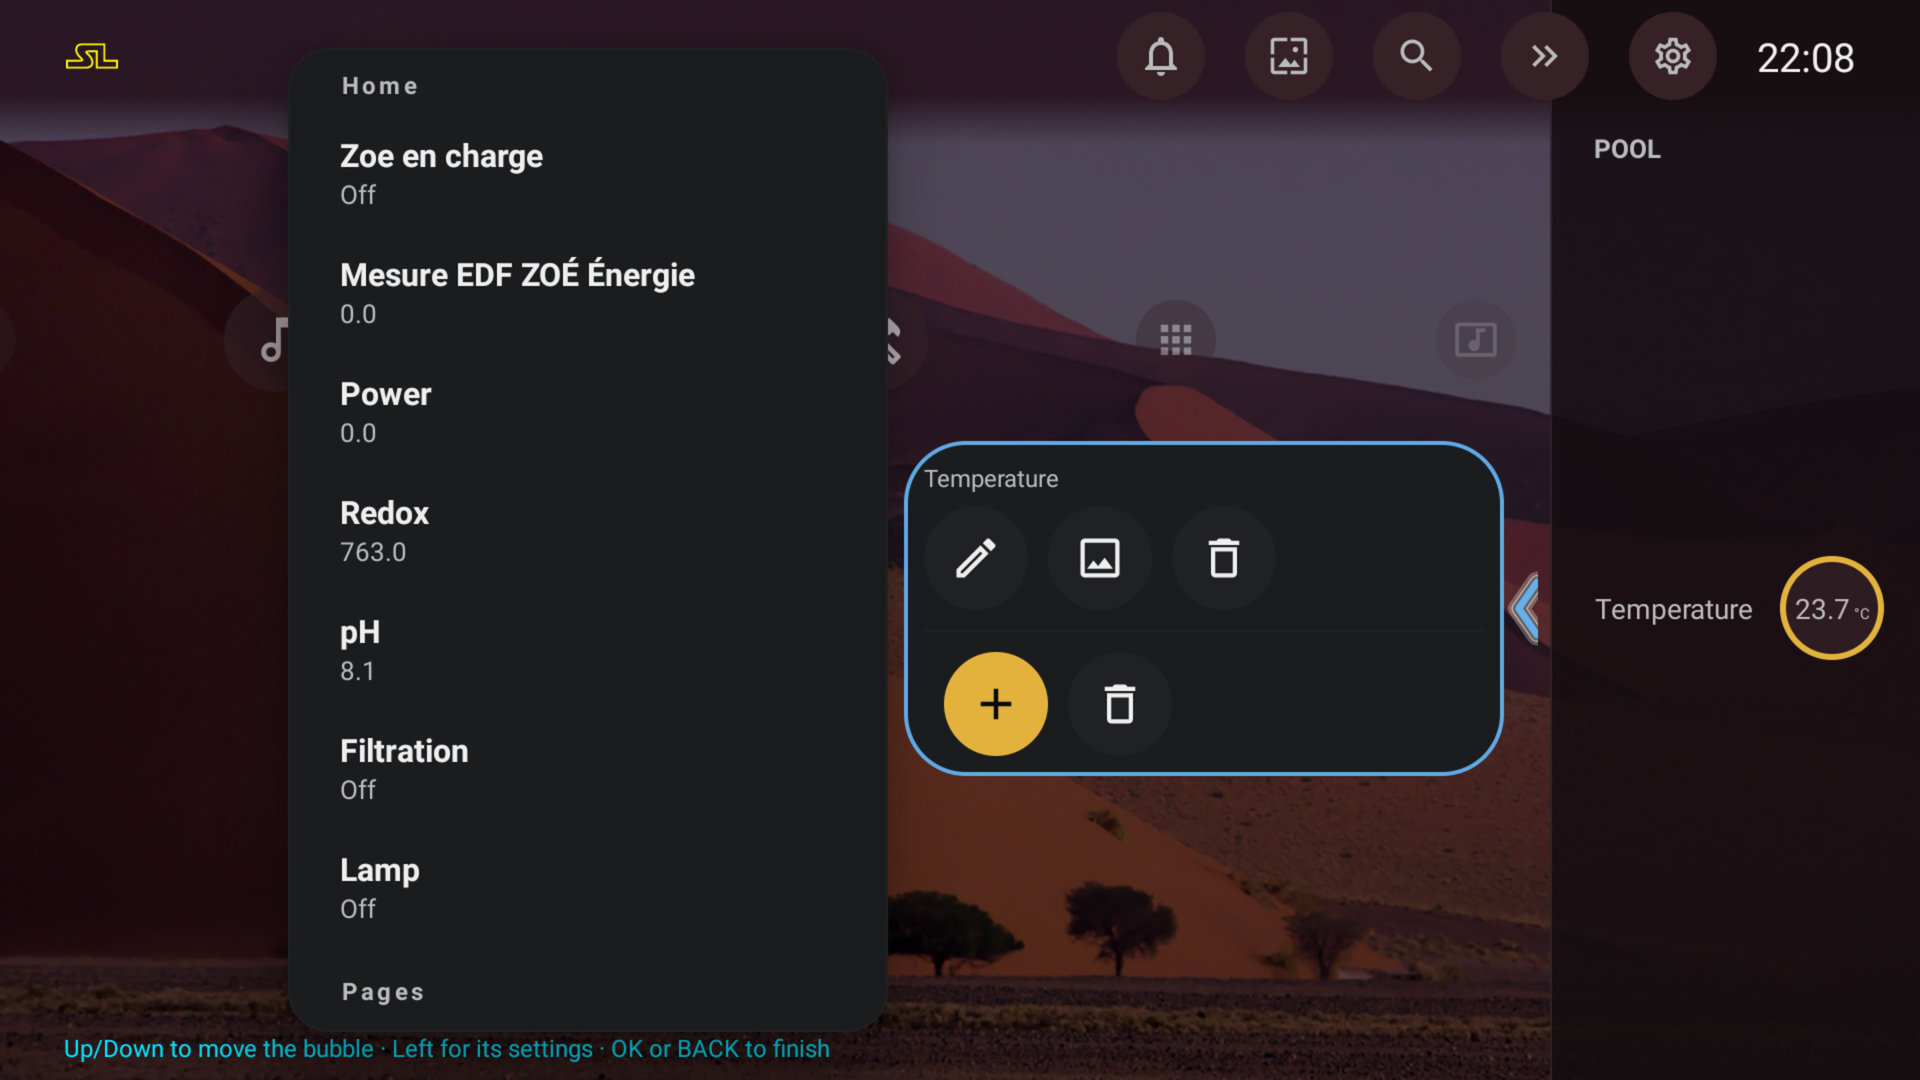
Fill it
The + lists your entities with their live values. Pick one, then the next.
- 04
Give it an icon
Any Material Design icon, the set Home Assistant uses: type its name, like car or pool, or pick one from the selection.
Good to know
- Up to 60 entities, and up to 8 extra panels of 12 bubbles each.
- StartLight talks to your instance directly: no add-on to install, nothing goes through our servers.
- An http:// address is accepted on your local network only; https:// works from anywhere.
- Values update live while they are on screen.